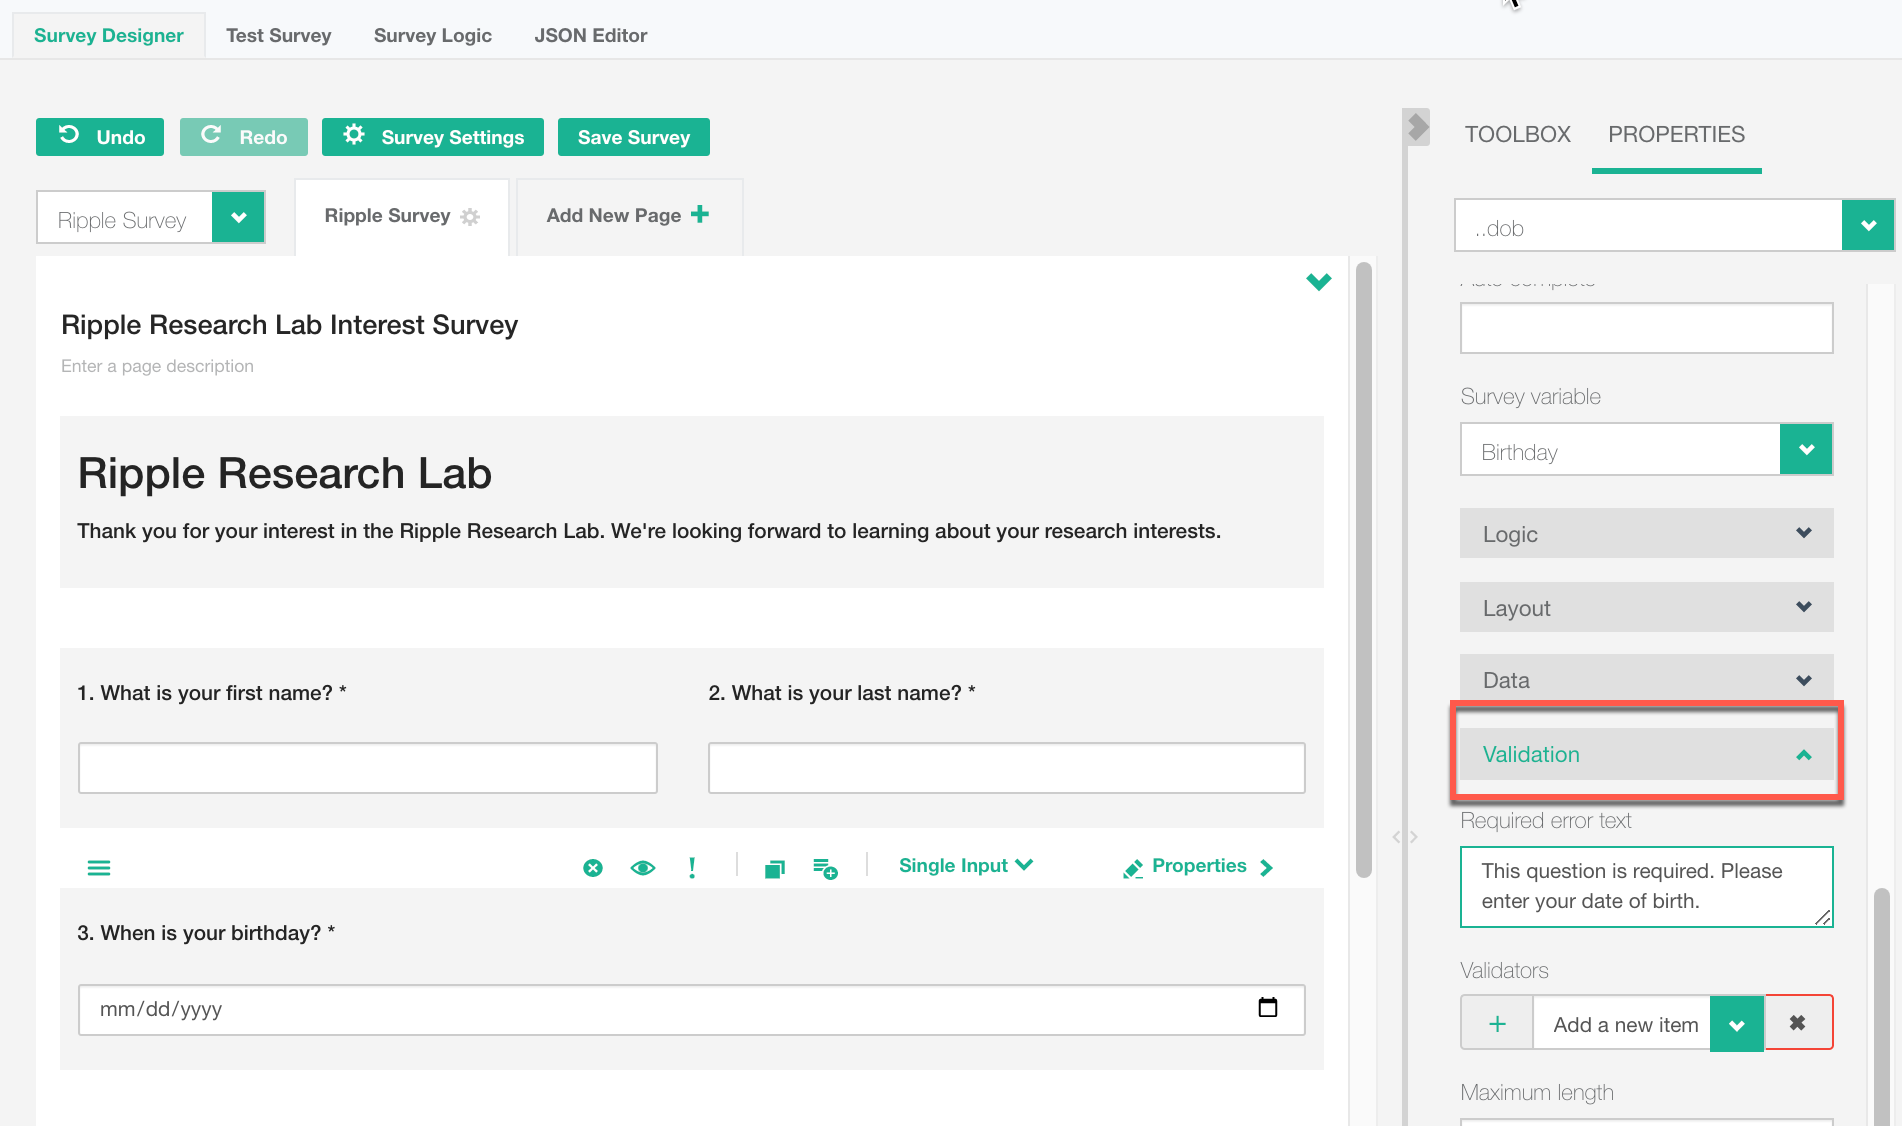
The Validation section allows you to control the values your survey will accept, ensuring data accuracy and completeness.
Benefits of Using Validation:
- Ensures participants fill out required fields.
- Confirms responses are entered in the correct format.
Example Use Case:
-
Add validation to ensure participants enter a date in the Birthday field.
NOTES:
-
Survey questions do not include validation by default.
- You can manually add validation to any question as needed.
By using validation, you can improve data quality and ensure participants provide accurate and complete responses.
Customizing Required Error Text in Surveys
You can mark important questions as required, ensuring participants provide responses. If a required question is left unanswered, an error message will appear.
Key Features:
-
The default error message is “Please answer the question.”
-
Users can customize the error message to provide specific guidance.
Steps to Set Up Required Questions and Customize Error Text:
-
Create a Survey Question
-
Open the Toolbox and add your question.
-
-
Enable the Required Setting
- Select the question and open the Properties panel.
- Under the General section, toggle “Is Required” to ON.
-
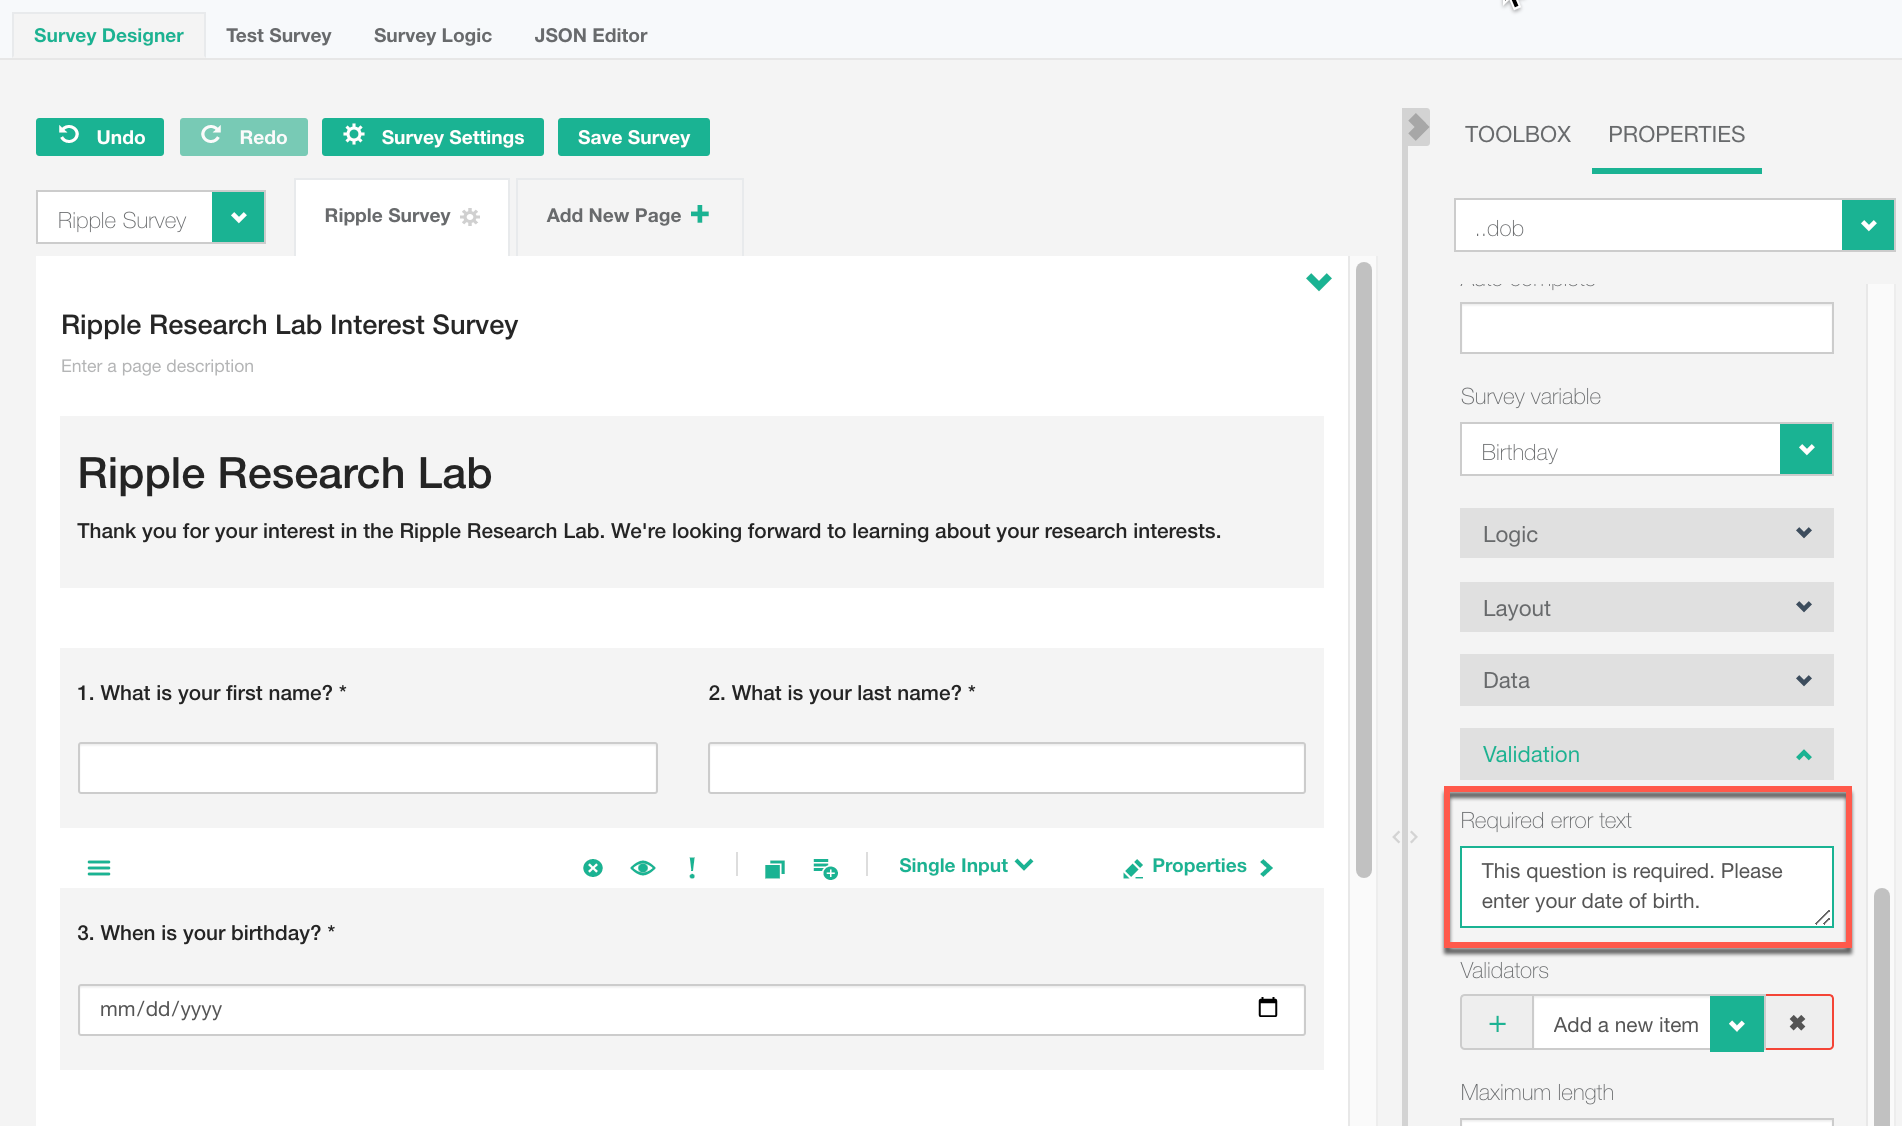
Customize the Error Message
- Scroll down to the Validation section.
- Locate the “Required Error Text” field.
- Enter your preferred custom error message.
By following these steps, you can ensure that required questions are answered while providing clear instructions to participants.
Using Validators in Surveys
Validators allow you to create custom expressions to verify survey responses. You can use validators to ensure that participants enter data in the correct format before submitting the survey. If a response does not meet the validation criteria, the survey will block submission until it is corrected.
Key Features of Validators:
✔ Ensure data accuracy by restricting incorrect entries.
✔ Customize error messages to guide participants.
✔ Apply different validators based on question type.
Example Use Case: Height Validation
If you are collecting height in feet and inches, the inches field should not exceed 12. A Max Validator can be applied to prevent participants from entering invalid values (e.g., 13 inches or more).
How to Add a Validator: Email Validation Example
-
Add a Question
- Open the Toolbox and add a Single Input question.
-
Access the Properties Panel
- Select the question and navigate to the Properties panel.
-
Apply a Validator
- Scroll down to the Validation section.
- Click the “+” icon under Validators.
- Select “Email” to ensure only valid email addresses are accepted.
-
Customize the Error Message
- In the Text field, enter a custom error message (e.g., “Please enter a valid email address.”).
By using validators, you can enhance data accuracy and prevent errors before survey submission.
