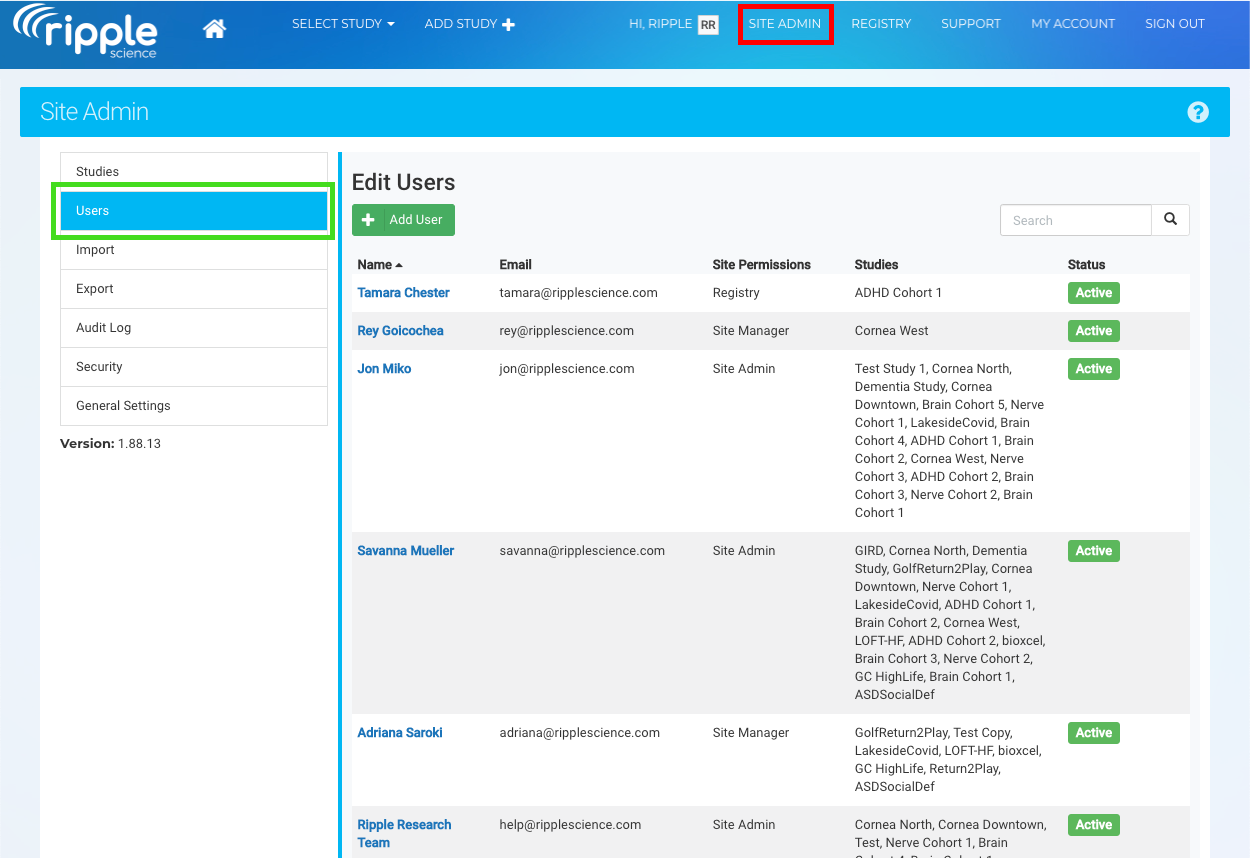
Adding New Users to Ripple
Step 1: Navigate to the Users Section
-
Go to the Site Admin tab.
-
Select the Users section.
-
Click the Add User button (green).
Step 2: Enter User Details
When adding a new user, you will be prompted to enter the following information:
-
First Name
-
Last Name
-
Email
-
Site Permissions (Choose from the following options):
-
Site Admin & Registry Access
-
Site Manager & Registry Access
-
Registry Access
-
None
-
- Study Assignments, Roles, and Permissions
Step 3: Send the Invitation
-
After entering the details, send the invitation.
-
The new user will receive a link to create their account.
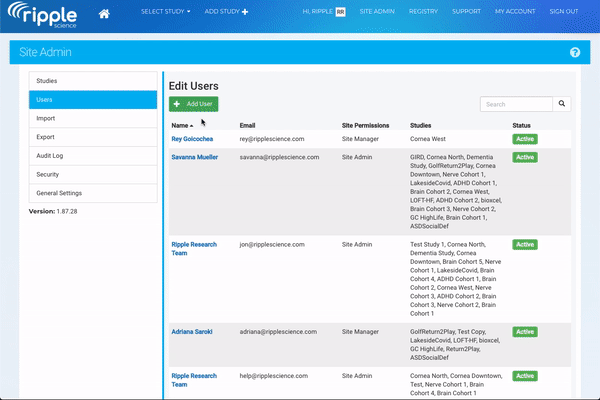
Step 4: Manage User Access
-
To add or remove a user from a study, return to the Users section.
-
Select the user to update their study access and permissions as needed.
Following these steps ensures smooth onboarding and proper role assignments for new team members.