Create Events in Your Study
Study Admins have the ability to create and manage Events on the Study Settings page. Events help streamline participant workflows and improve scheduling efficiency.
Steps to Create a New Event
-
Navigate to the Events Tab:
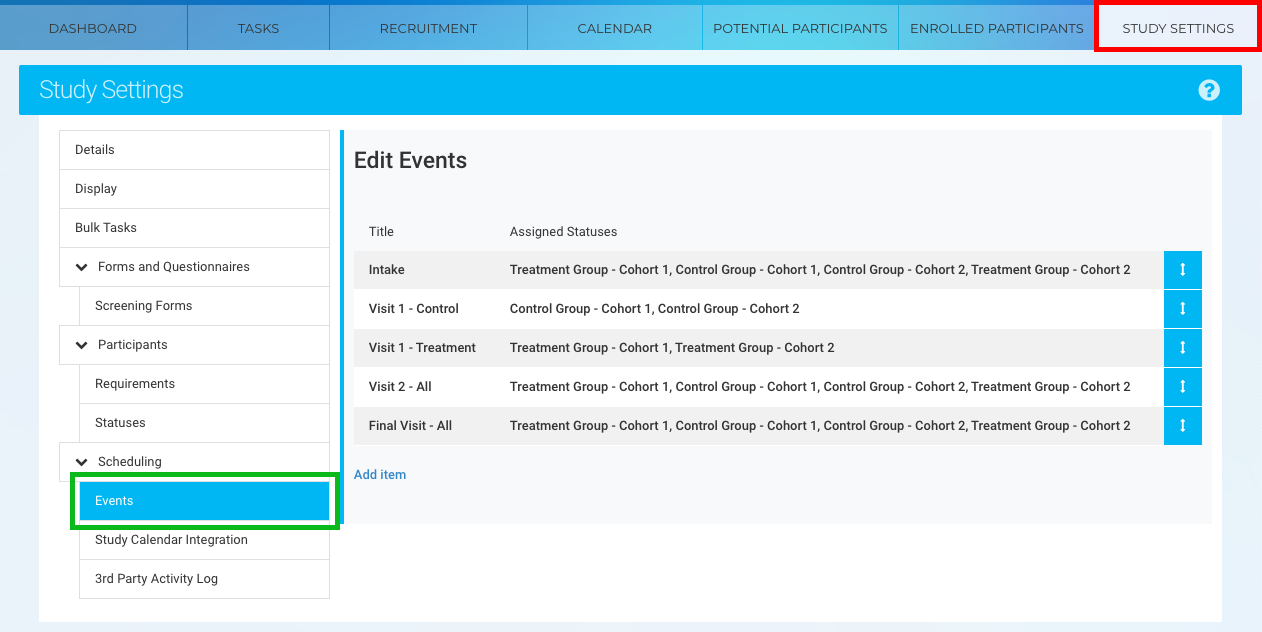
- Go to the Study Settings tab (red).
- Select the Events section (green).
2. Add a New Event:
-
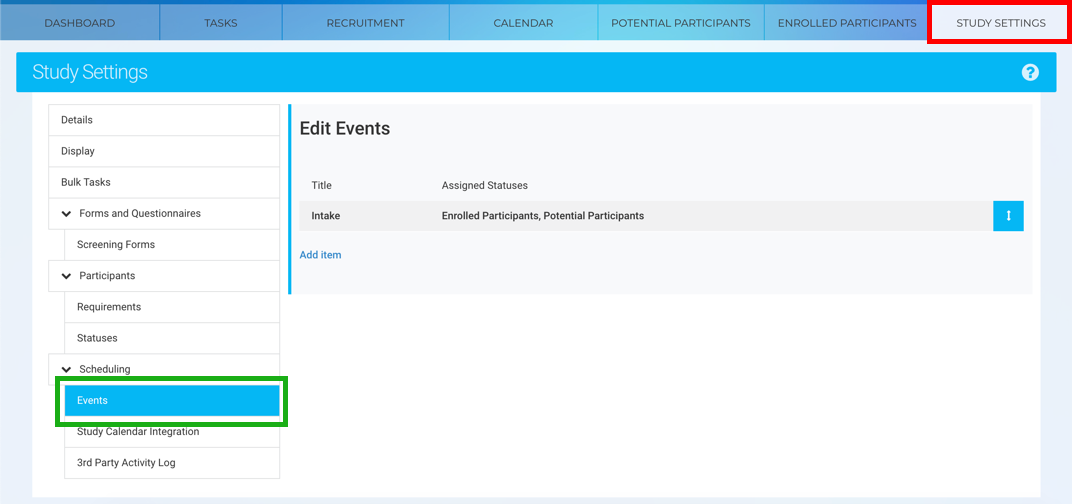
- Click the Add Item button to open the Add/Edit Event window.
3. Enter Event Details:
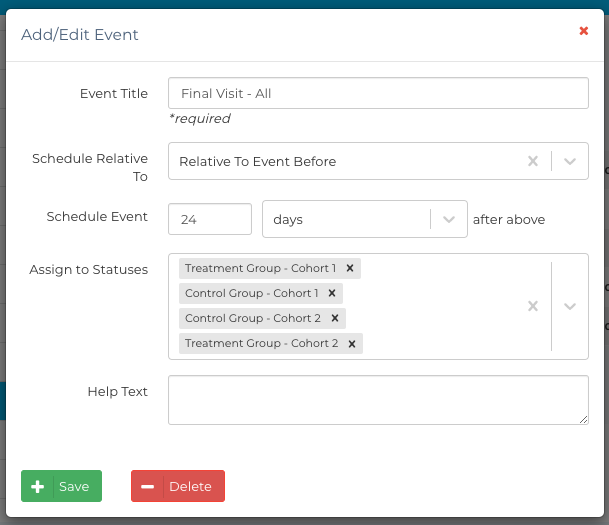
Fill in the following fields:-
-
- Event Title: Provide a descriptive name for the event.
- Schedule Relative To: Specify the event relative to another event (e.g., Baseline Visit).
- Schedule Event After: Define the time interval before or after the reference event.
- Assigned Statuses: Select the statuses for participants to whom this event applies.
- Help Text: Add general notes or instructions for the event.
- Note: Detailed information about these components can be found here
-
4. Save Changes:
-
- Click the Save button to save the new event.

- Click the Save button to save the new event.
Understanding Expected Window
In Ripple, the "Expected Window" for an event refers to the range of dates during which a particular event is expected to occur based on the participant’s timeline or a reference date (such as enrollment, birth date, or another key milestone in the study).
Here's what it typically means:
-
Start of Expected Window: The earliest date the event should occur.
-
End of Expected Window: The latest date the event should occur and still be considered "on time."
Purpose:
The expected window helps research teams:
-
Track whether an event is on schedule, overdue, or upcoming.
-
Schedule visits or send reminders based on the ideal time frame.
-
Ensure that data collection is occurring in accordance with the study protocol (e.g., visit should occur within 30–60 days after enrollment).
Example:
If a study visit is expected to take place 30–45 days after enrollment:
-
A participant enrolled on June 1 would have an Expected Window for that visit from July 1 to July 16.
-
Visits outside of that range might be flagged as early or late.
- This article has more details on how to set an expected window.
Steps to Edit an Existing Event
Editing an event is similar to creating a new one:
-
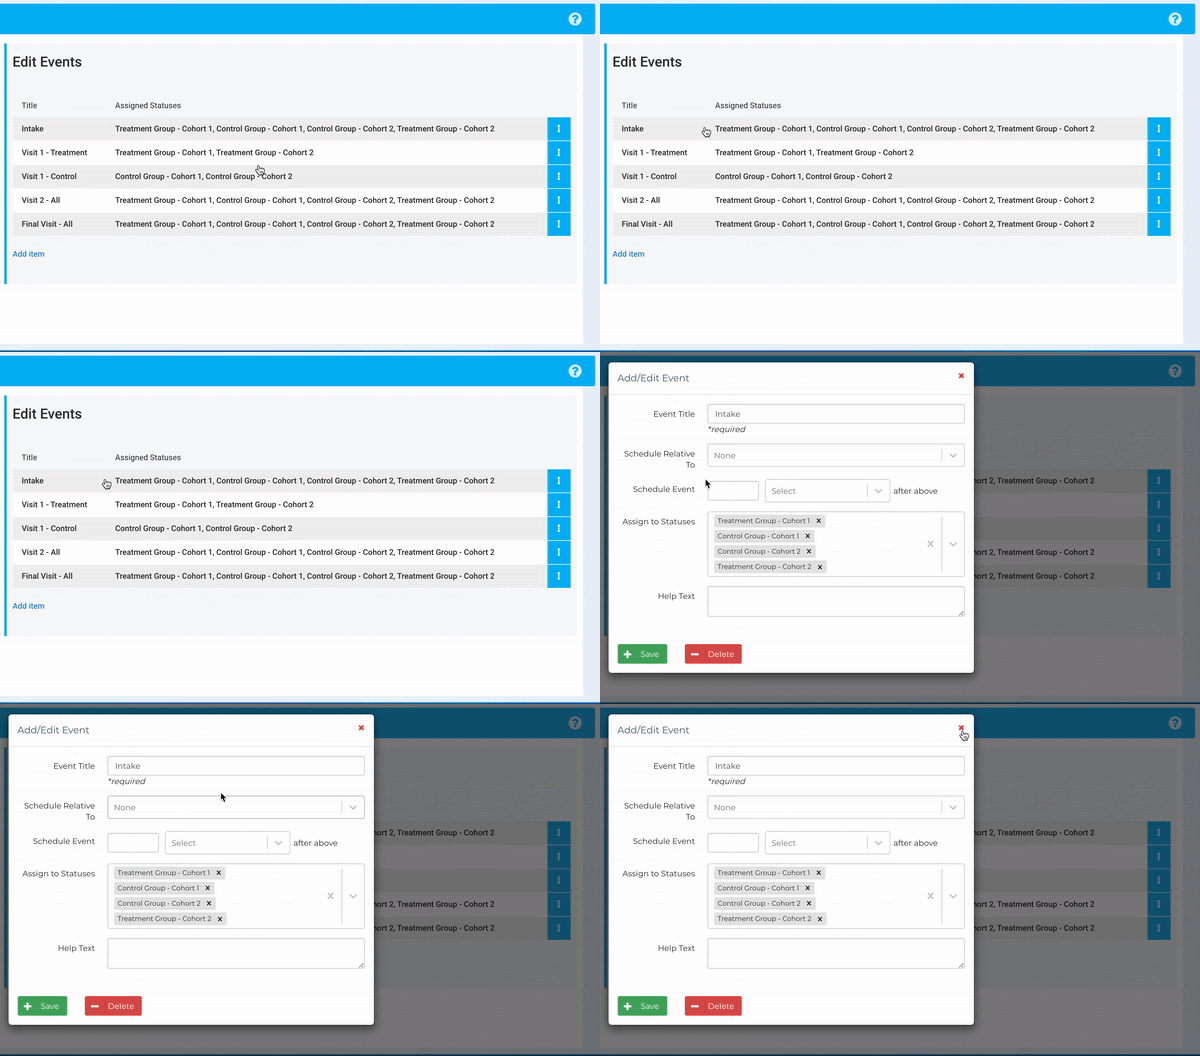
Open the Event:
- Click on the event you want to edit in the Events section.
- The Add/Edit Event window will open.
-
Modify Event Details:
- Update fields like the title, scheduling settings, assigned statuses, or help text as needed.
-
Save Changes:
- Click the Save button to apply your edits.
Reordering Events
-
Reorder Events:
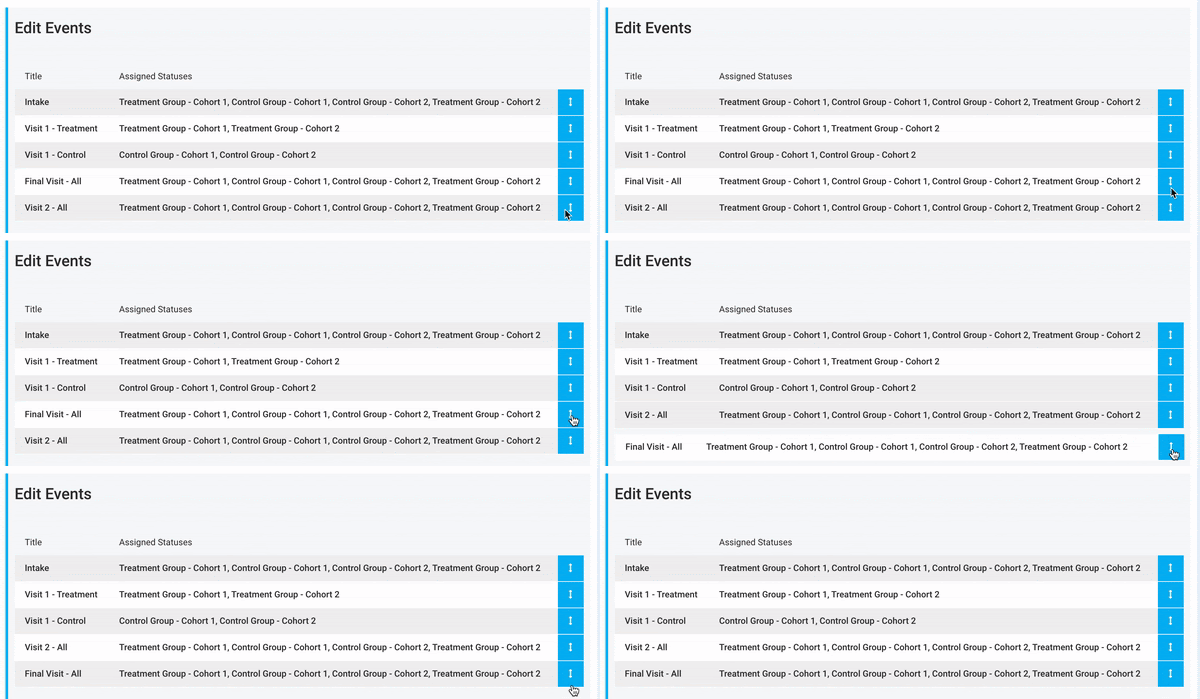
- Click the Reorder button (blue) in the Events section.
- Drag and drop events into the desired order to align with your study protocol.
-
Save the New Order:
- Ensure you save your changes to maintain the new event order.
