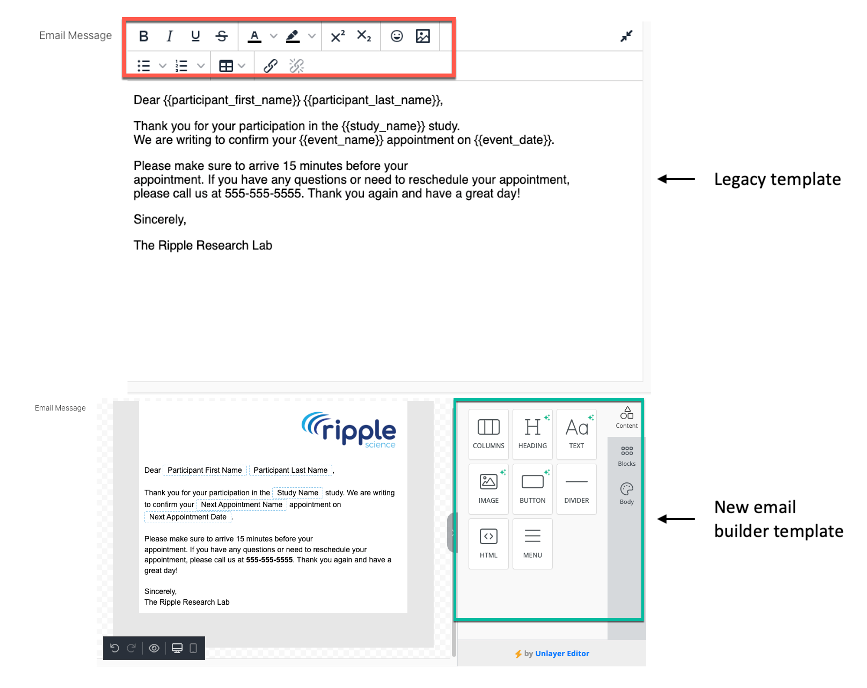
In Ripple, there are two types of email templates:
- Legacy Templates (Red) – The original email templates with basic elements such as text, images, and lists.
- New Email Builder Templates (Green) – Enhanced templates with more customization, styling, and branding options.
By switching to the new email builder templates , you can enhance the appearance and functionality of your emails while maintaining consistency with your brand.
 Legacy Email Templates vs. New Email Builder Templates
Any email templates created before July 2023 are considered legacy templates. These templates will not automatically convert to the new email builder format.
Key Points About Legacy Templates:
- You can still edit, use, and send legacy templates as usual.
- They will function the same way as they always have.
- You cannot use new email builder elements on a legacy template.
To take advantage of the new email builder features, you must manually migrate your content into a new template. Let me know if you need step-by-step instructions for this process!
How to Create New Templates from Legacy Templates
To migrate a legacy email template (created before July 2023) into the new email builder, follow these steps:
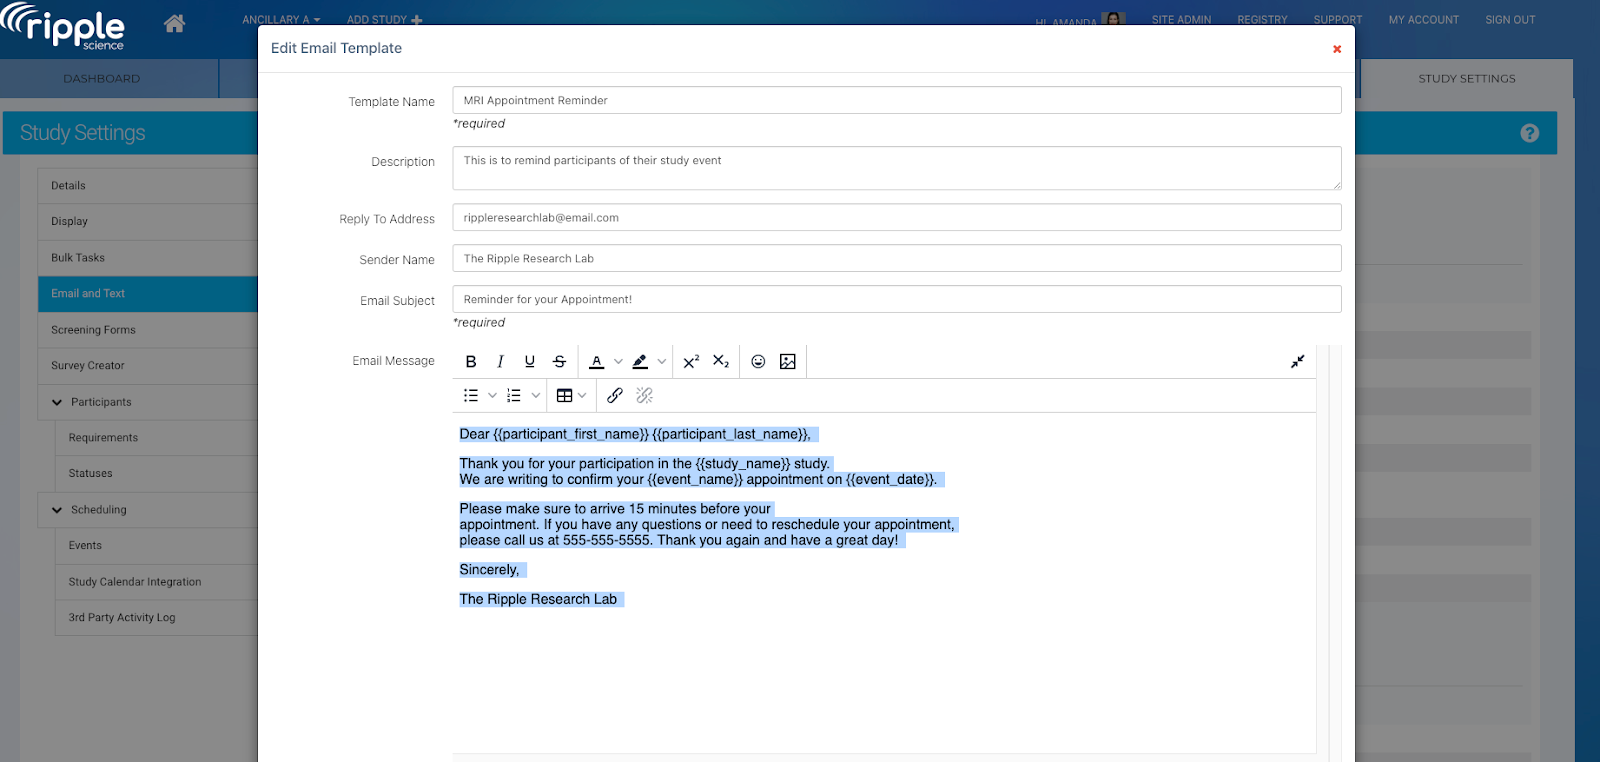
Step 1: Copy the Legacy Template Content
- Go to Study Settings – Navigate to Email and Text settings.
- Open the Legacy Template – Locate the email template you want to convert.
- Copy the Template Contents – Select and copy all text, images, and formatting.
- Close the Legacy Template – Exit the template after copying.
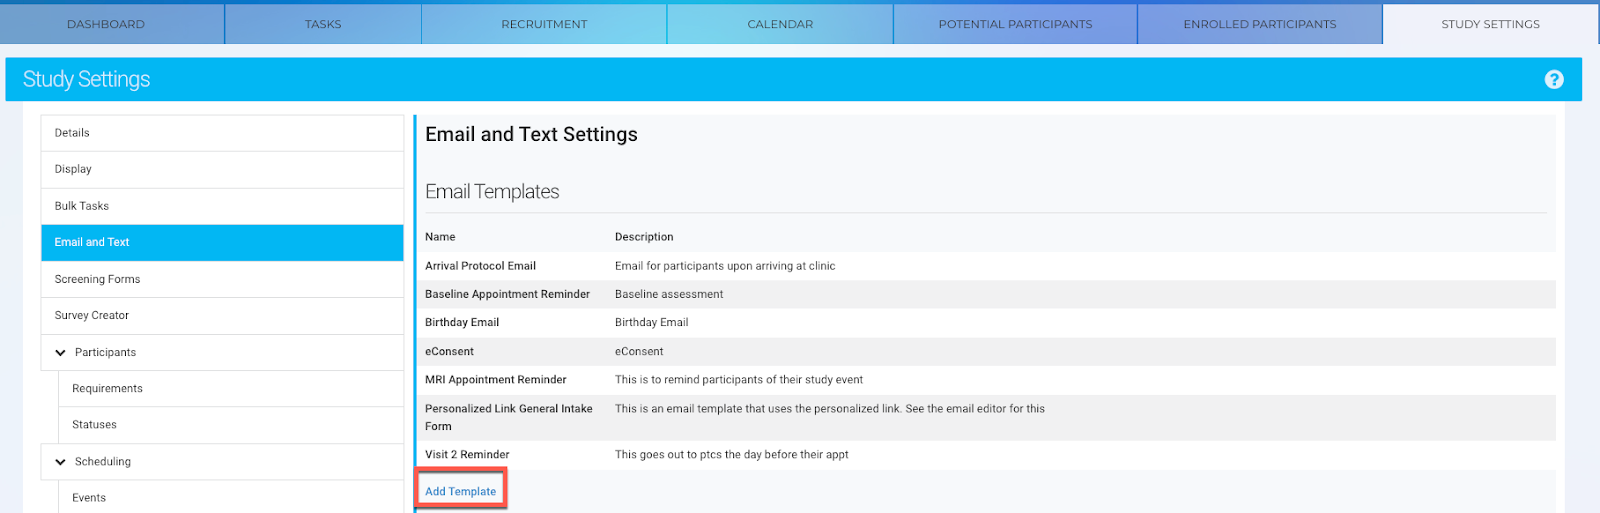
Step 2: Create a New Email Builder Template
- Click “Add Template” – Start a new email template in the new builder.
6. Choose the Formatting Style:
-
- Plain Text Email – Add the Text element if you want an unstyled, simple email.
- Styled Email – Add and customize elements to format the email as needed.
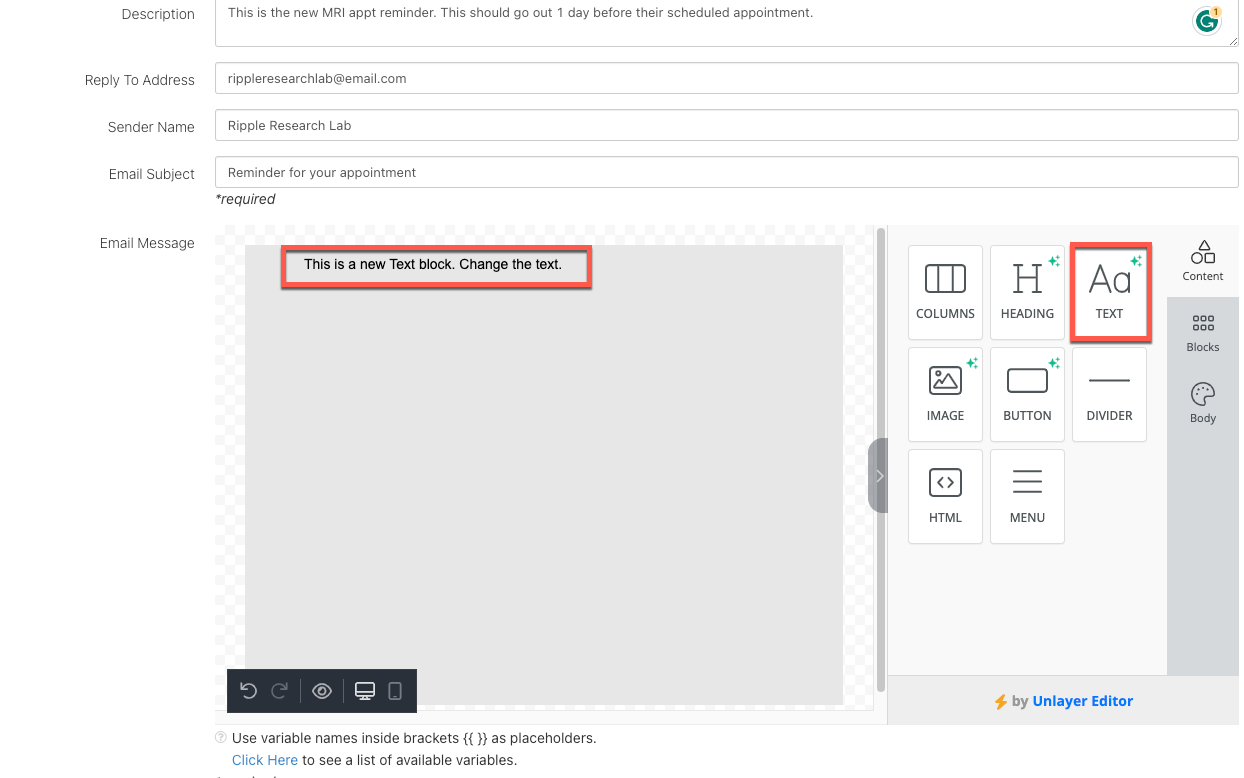
7. Paste the Copied Content –
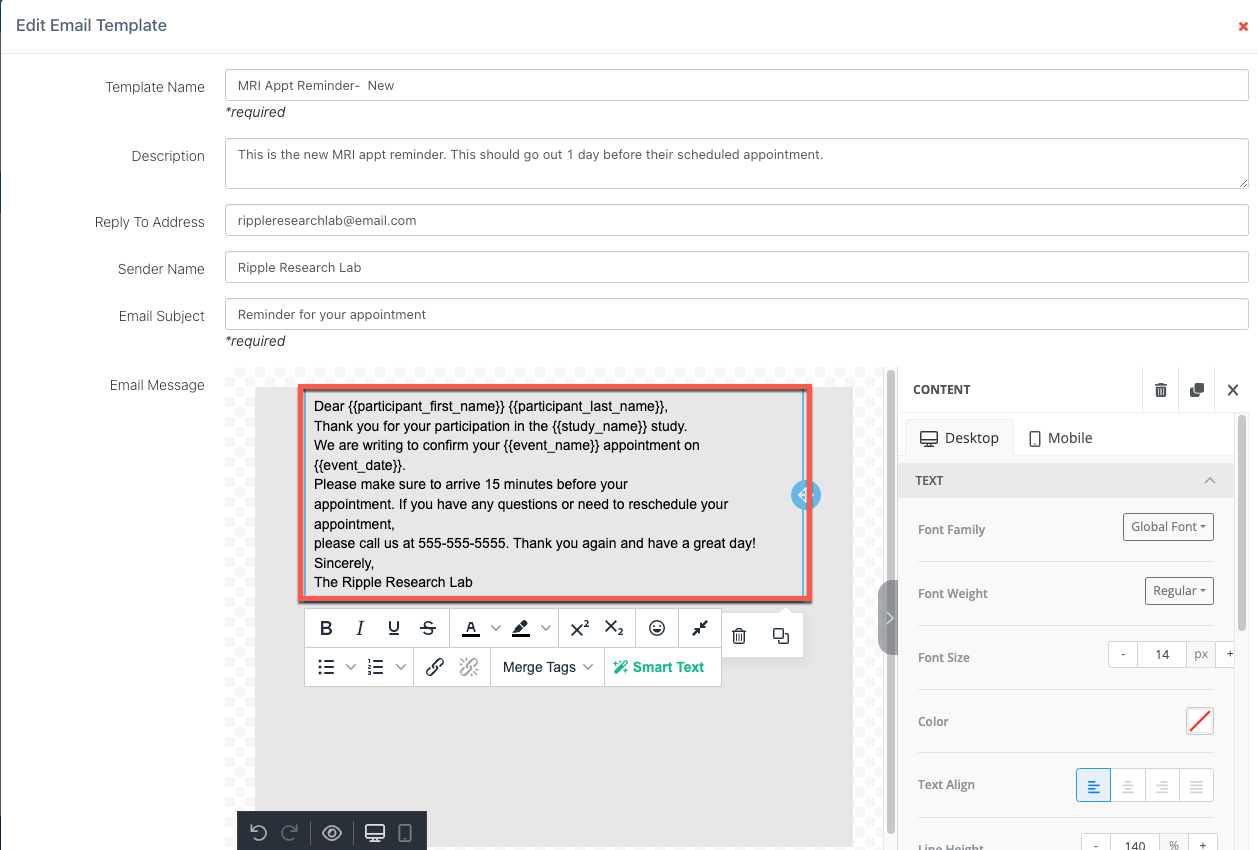
8. Adjust Formatting – Ensure correct spacing and style in the text box.
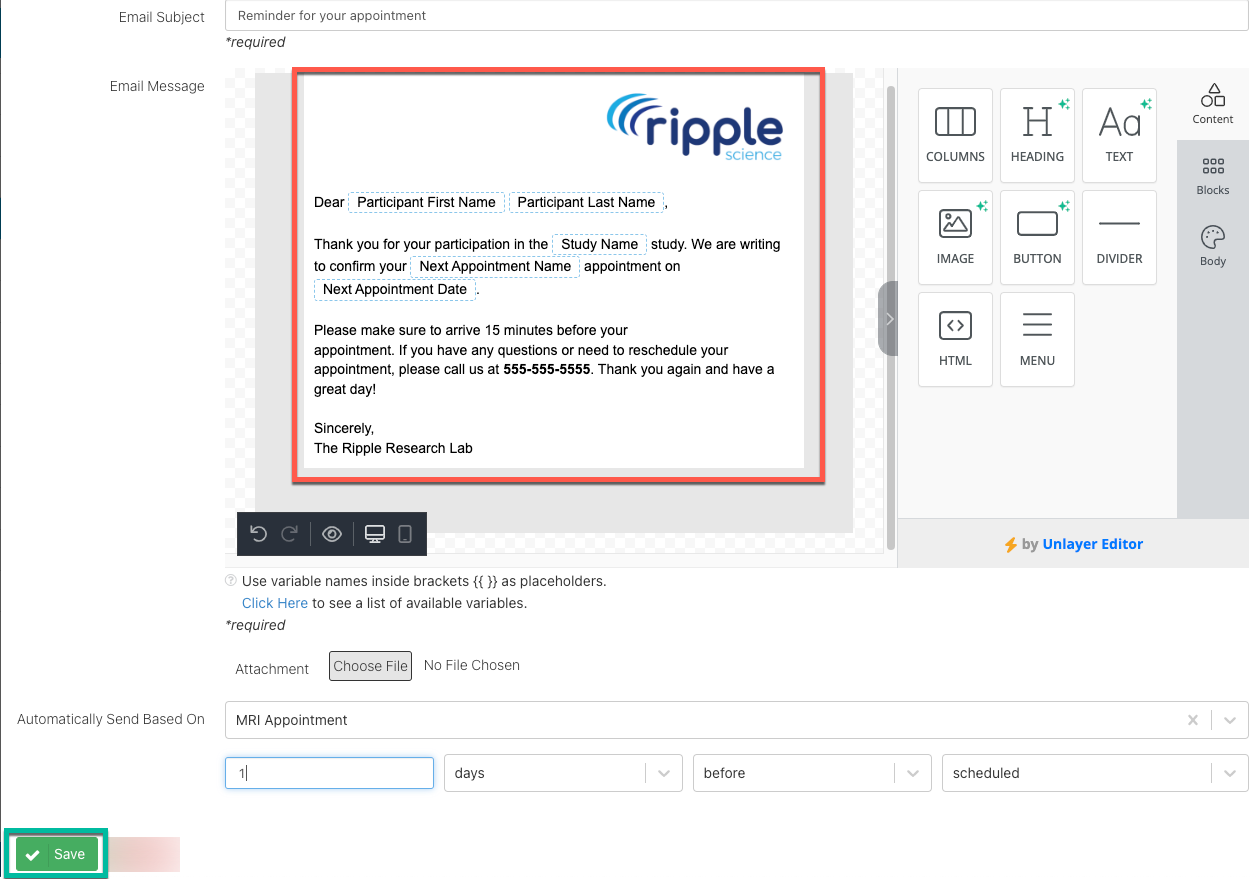
9. Complete the Email Fields – Fill in any required fields for the new template.
10. Save the New Template – Click Save to finalize your new email template.
Tip: You can break the text into multiple elements and add more formatting as needed.
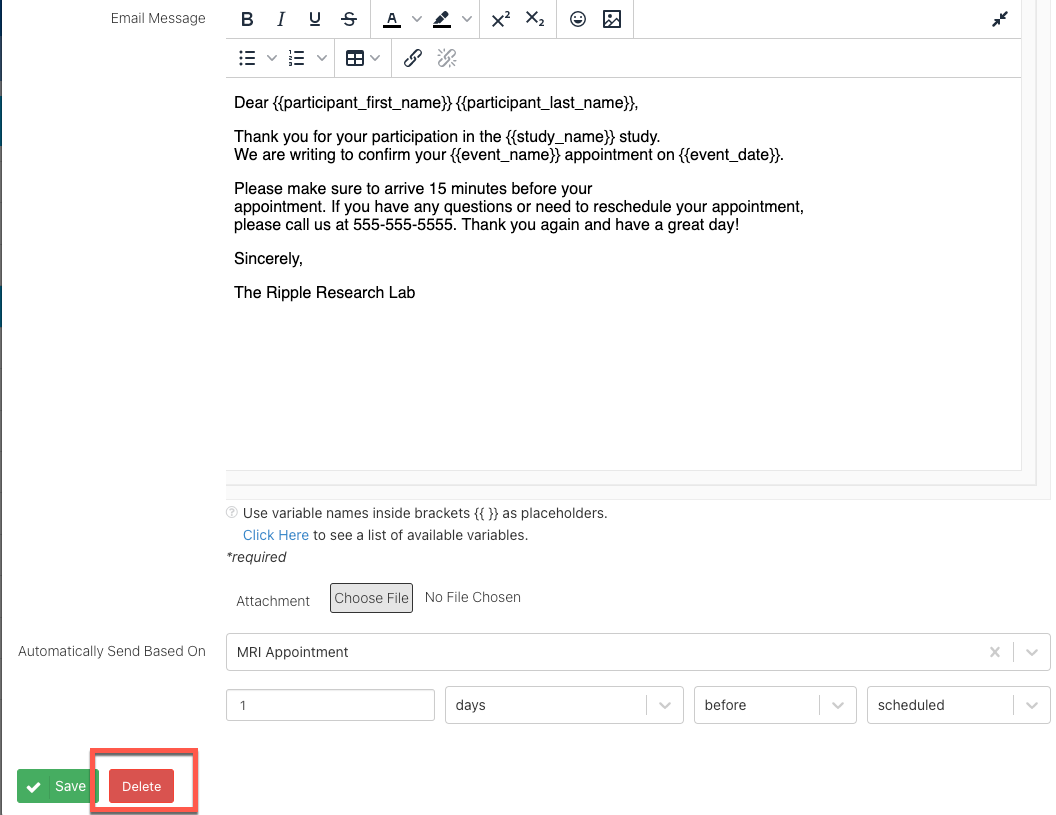
Step 3: Test and Delete the Legacy Template
- Test the New Template – Ensure everything appears as expected.
- Delete the Legacy Template – Once satisfied, navigate back to the legacy template and remove it.
By following these steps, you can upgrade your emails to the new builder while maintaining the original content. Let me know if you need further clarification!