Ripple simplifies sending emails for appointment reminders, nurturing participants, and sharing study news and updates. Emails are customizable, support attachments, and log communications for streamlined management.
NOTE: Ensure you comply with institutional rules managed by the applicable Institutional Review Board and the information security compliance office and obtain authorization before emailing participants.
Steps to Send an Email
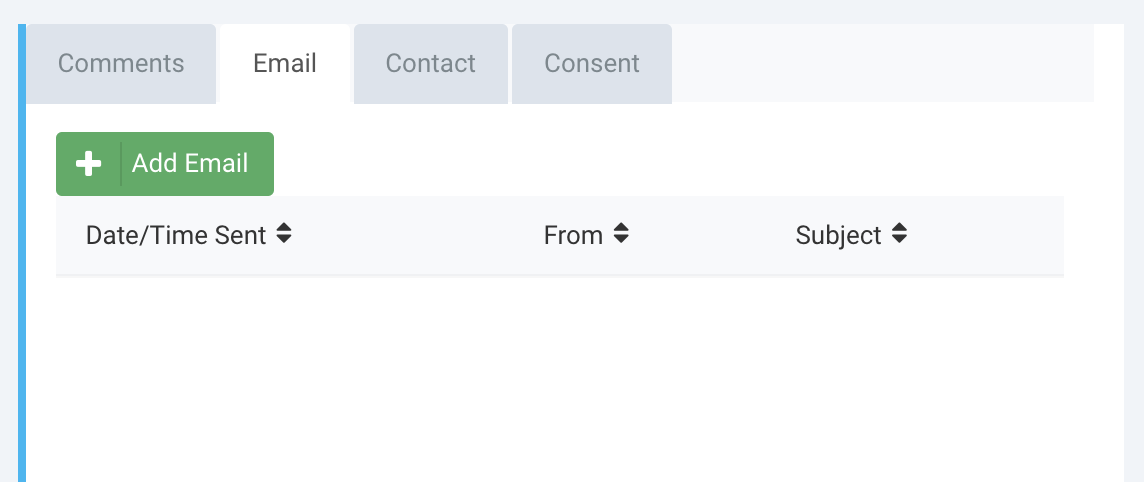
1. Navigate to the Email Log:
-
- Open the participant’s profile card and click the (green) "Add Email" button.
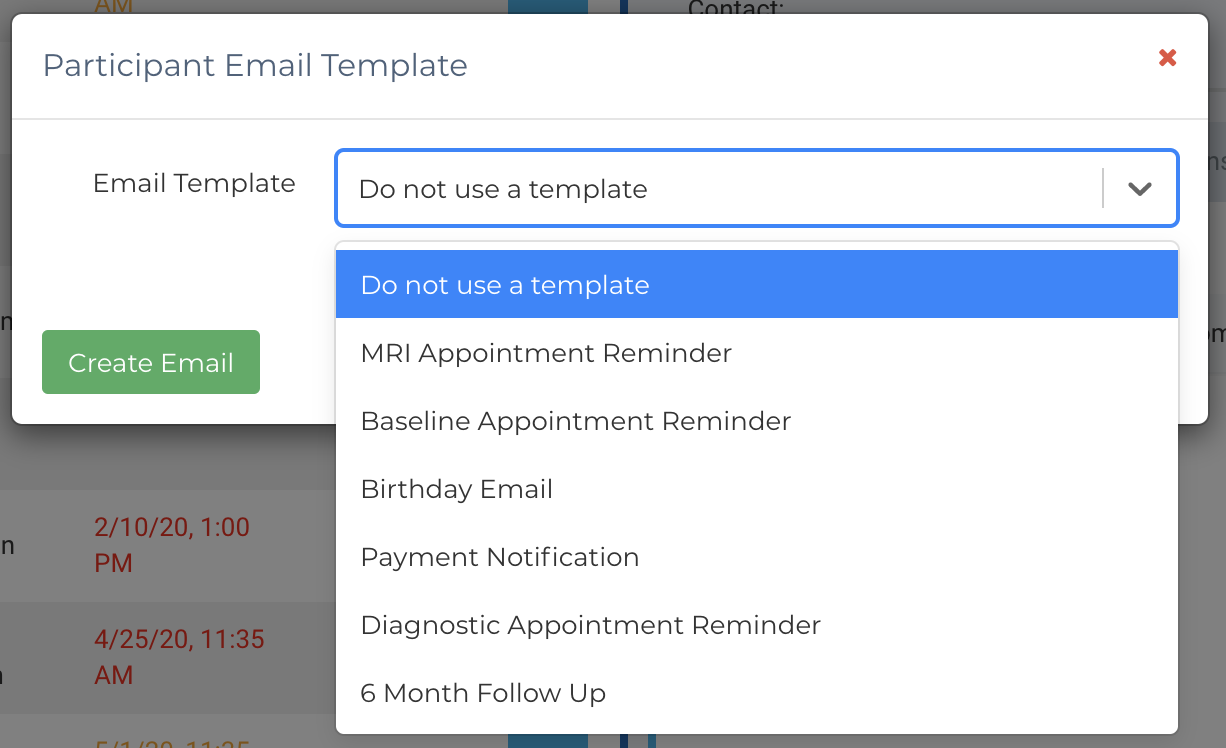
2. Create an Email:
-
- Select an email template or choose "Do not use a template" for a custom email.
- Click "Create Email."
3. Fill in Email Information Fields:
-
- Recipient Email(required): Select from the participant’s contact list.
- CC/BCC Email: Optional.
- Reply-To Address: Where replies will be sent.
- Sender Name: Name displayed to the recipient.
- Subject Line: Required field.
NOTE: If you do not see these options on your emails, please email us at help@ripplescience.com to discuss how to get this feature added to your subscription.
4. Write or Edit the Email Message:
-
- For custom emails, when you select "Do not use a template" the message box will be blank.
- For templates, the email is pre-populated but editable.
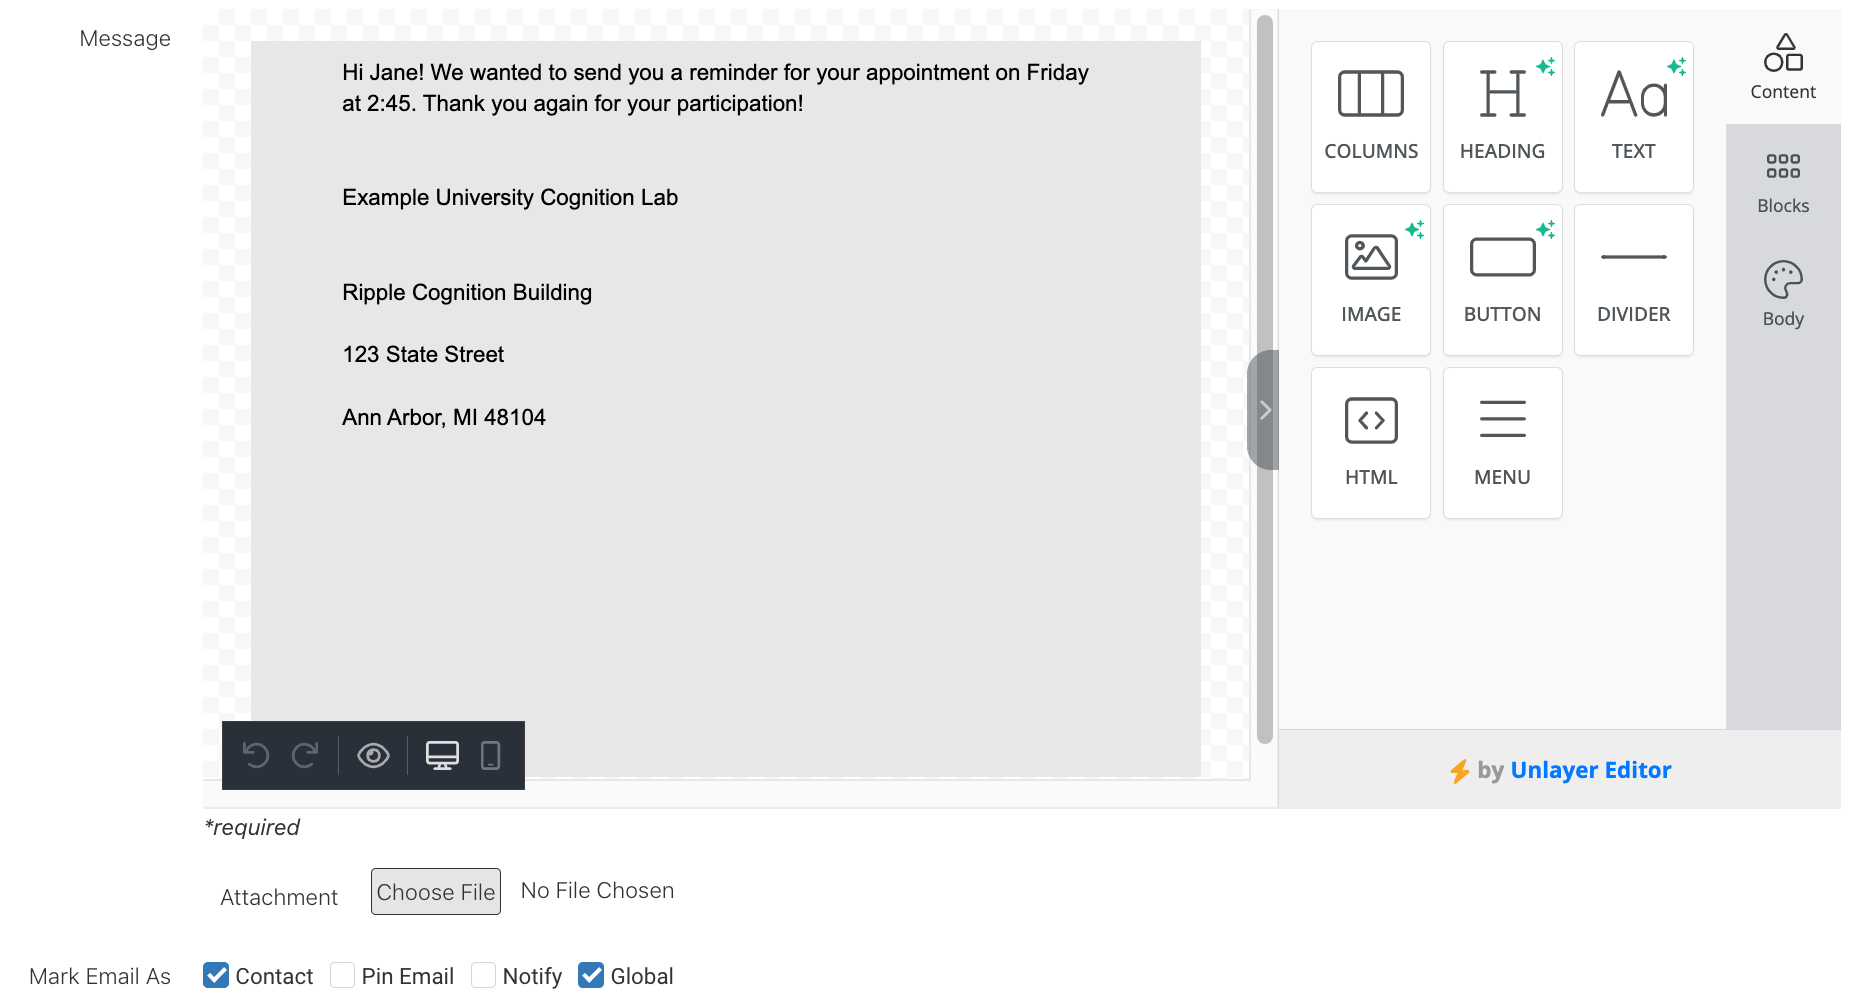
5. Modify the Email Message:
-
-
- Use the text editor to:
- Adjust text size, font, and spacing.
- Add bullet points, numbered lists, images (up to 5 MB), and attachments (up to 10 MB).
- Use the text editor to:
-
HTML in Emails
Emails sent from Ripple are HTML-capable. When the HTML checkbox is checked, HTML code in the message box will be received in the desired HTML format when the email is viewed by the recipient. Five checkbox options are at the bottom.
- HTML: Format the email using HTML code.
- Contact: Mark this as the participant’s "Date of Last Contact."
- Pin Email: Pin the email to the top of the communication page.
- Notify: Send a notification to your team.
- Global: Save the email log to the global registry.
TIP: Test advanced formatting by sending the email to yourself or a team member first.
6. Send the Email:
-
- After finalizing, click "Send Email".
- The email is sent from the Sender Name (via email@ripplescience.com), and replies will go to the Reply-To Address.d]
- All emails will be saved into the Email Log.
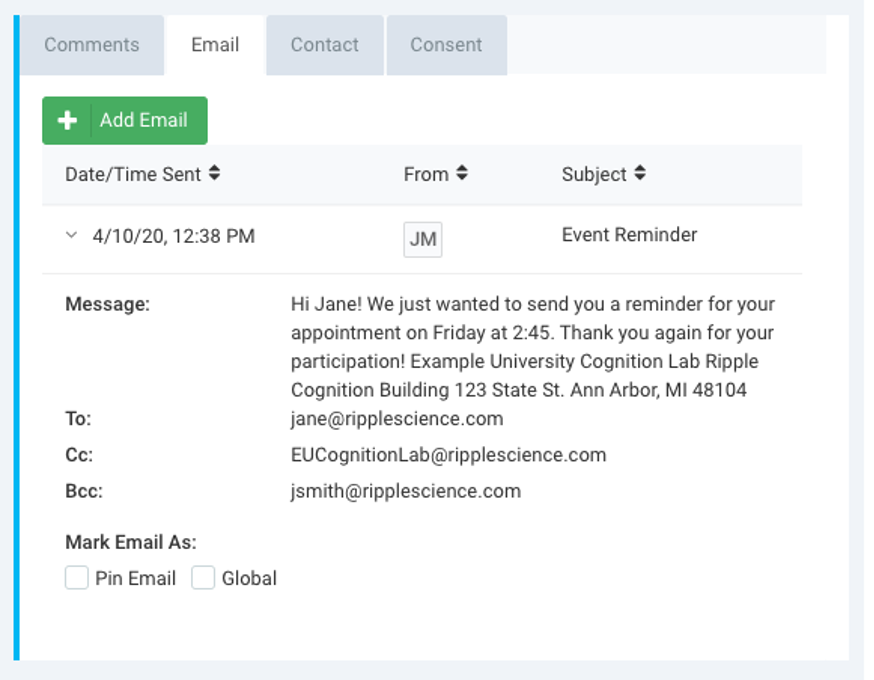
7. View the Email Log:
-
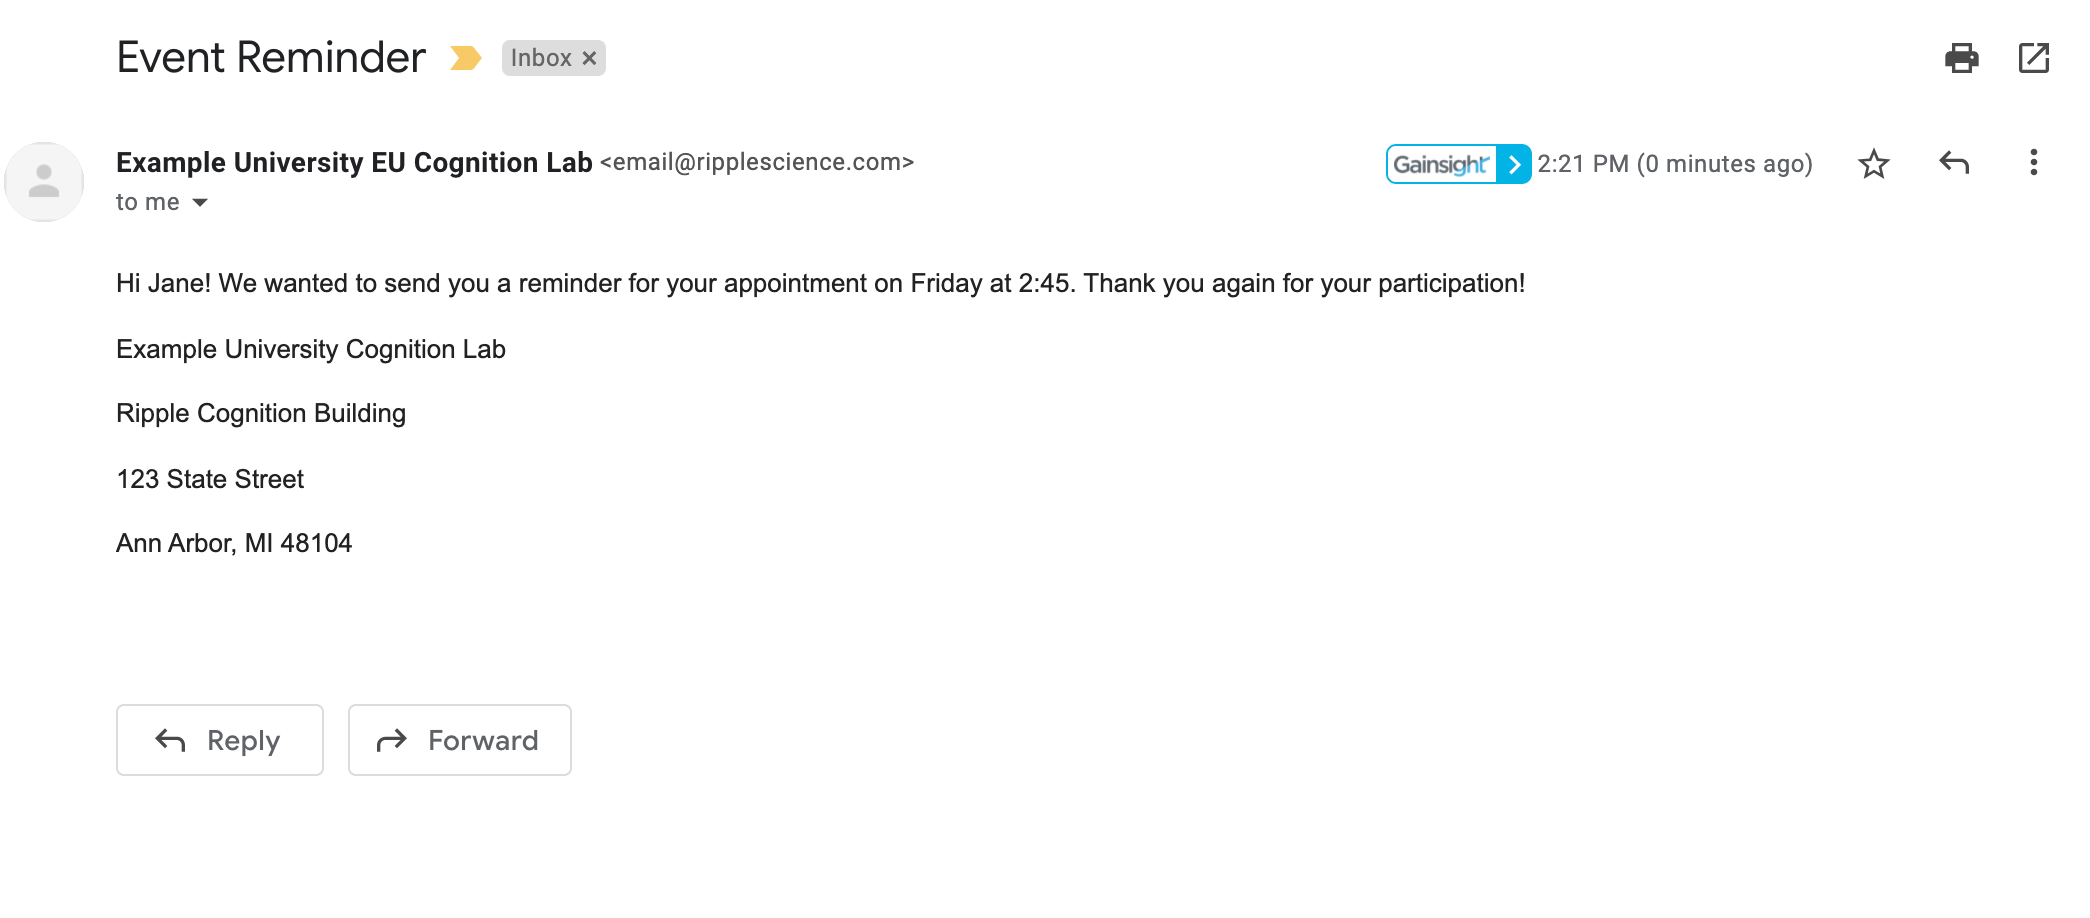
- All sent emails are saved in the participant’s Email Log, showing the date, subject, message, and recipients.