The Contact Log in a participant’s profile card is a centralized record of all communication with the participant, their parent/guardian, or other related contacts. This feature ensures that every interaction is documented, allowing research teams to track participant engagement and follow-ups.
Adding a New Contact in Ripple’s Contact Log
Ripple’s Contact Log allows research teams to document all participant interactions, ensuring accurate tracking of communication history. Users can add detailed entries, pin important contacts, and notify team members as needed.\
How to Add a New Contact Entry
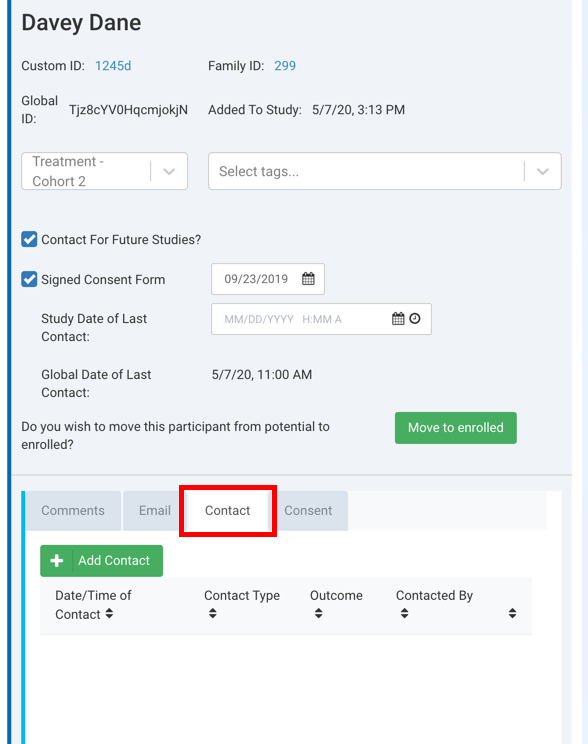
1️⃣ Click the "Contact Log" tab within a participant’s profile.
2️⃣ Click the "Add Contact" button.
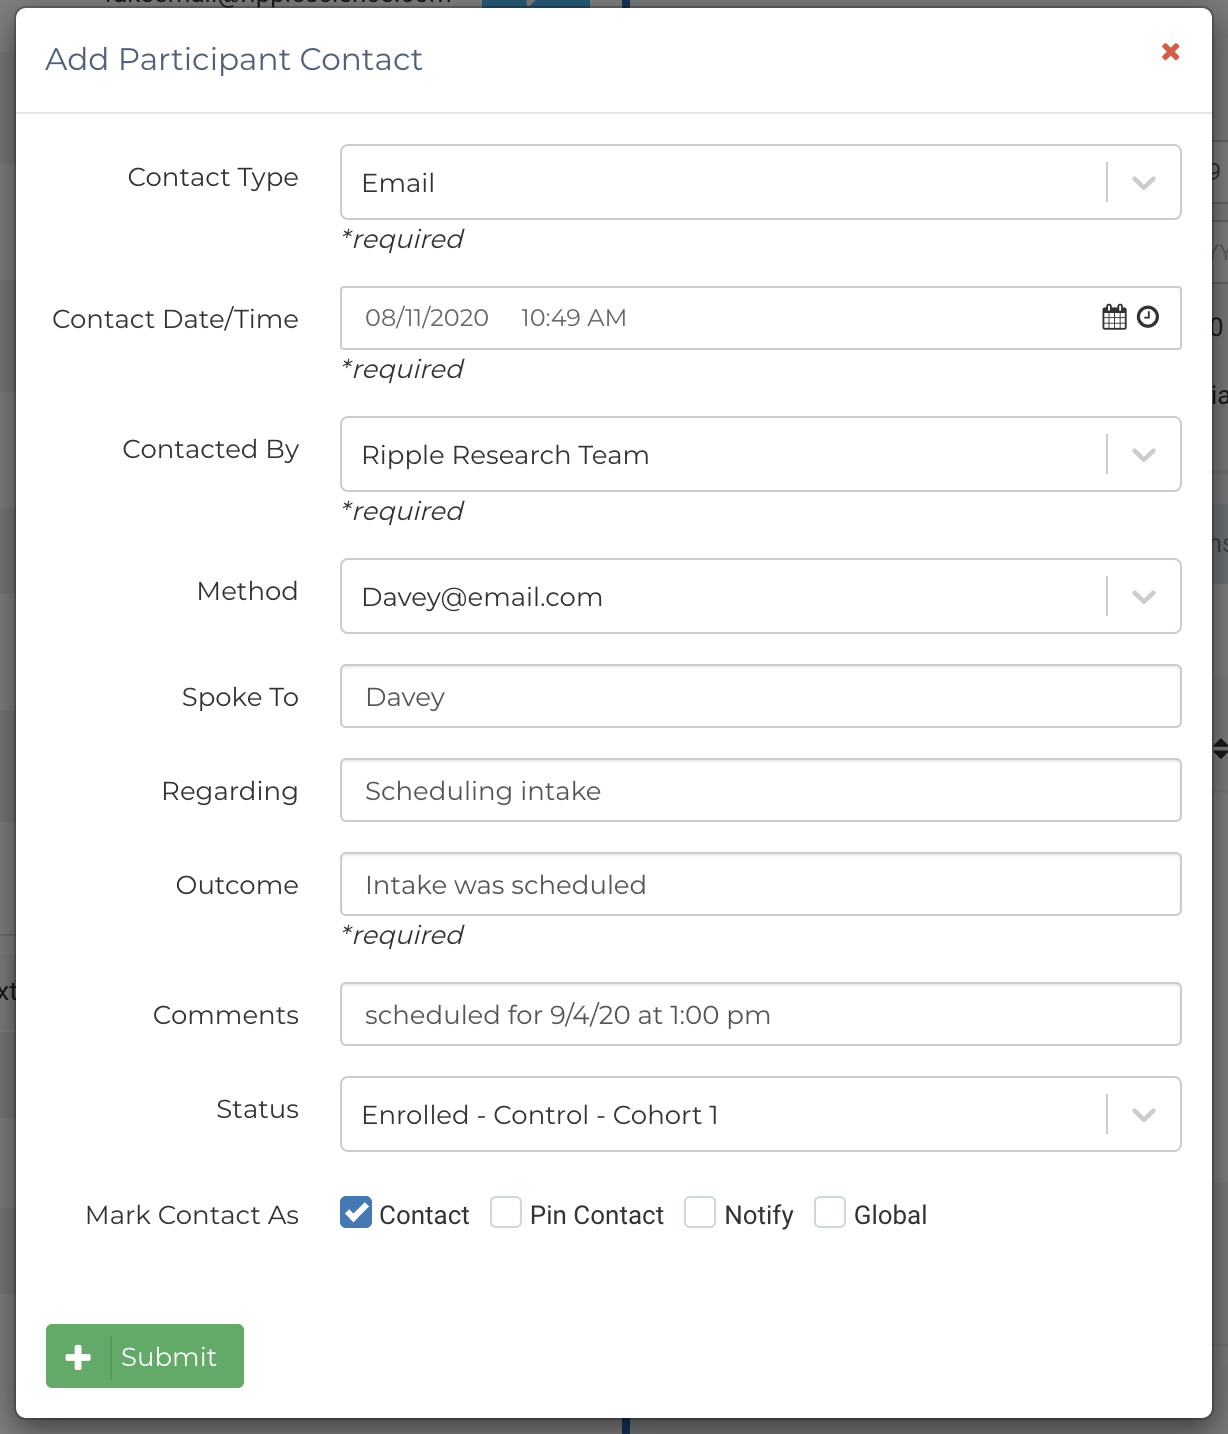
3️⃣ Enter the relevant contact details using the following fields:
Required Fields:
✅ Contact Type – Select the type of interaction (e.g., phone call, email, in-person).
✅ Contact Date/Time – Record when the contact occurred.
✅ Contacted By – Identify the team member who initiated the contact.
✅ Outcome – Select the result of the interaction (e.g., successful, no response, follow-up needed).
Additional Fields for Detailed Tracking:
- Method – Specify which email, phone number, or contact method was used.
- Spoke To – Document who received the contact (participant, guardian, etc.).
- Regarding – Describe the purpose of the contact (appointment reminder, follow-up, etc.).
- Additional Comments – Provide any extra notes or context.
- Status – Update the participant’s status based on the outcome of the contact.
Additional Contact Tracking Options
When adding a contact entry, users can enable the following options:
🔹 Contact – Updates the "Date of Last Contact" and "Global Date of Last Contact" for tracking recent interactions.
🔹 Pin Contact – Keeps the entry pinned at the top of the Contact Log, regardless of date. Multiple contacts can be pinned.
🔹 Notify – Sends an email notification about the contact to your team.
🔹 Global – Makes the contact entry visible across all studies and the registry. The Global tag will indicate which study the contact originated from.
Managing Contact Log Entries
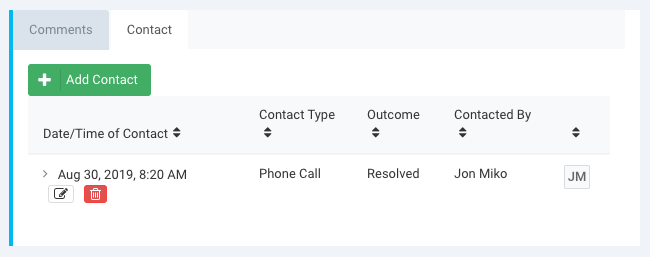
Once saved, the new contact will appear in the Contact Log, displaying:
✔ Date/Time of Contact
✔ Contact Type
✔ Outcome
✔ Team Member who made the contact
NOTES:
- The initials of the user who entered the contact appear at the end of the row.
- The log is sortable by headings to easily filter and view entries.
- By default, entries are ordered from newest to oldest (unless pinned).
- Contact Log entries can only be edited by the user who created them.
- Clicking the pencil icon ✏️ allows for editing an existing contact entry.