Importing Participants
Importing participant data in bulk helps migrate existing participant information into Ripple. Only Site Administrators and Site Managers have access to the Import tool.
Best Practices Before Importing:
- Ensure date formats and case-sensitive custom variables match the Data Dictionary.
- Run a test import with 1-2 participants before a large import.
- Break large imports into batches.
- Separate imports for multiple studies.
Steps to Import Participants:
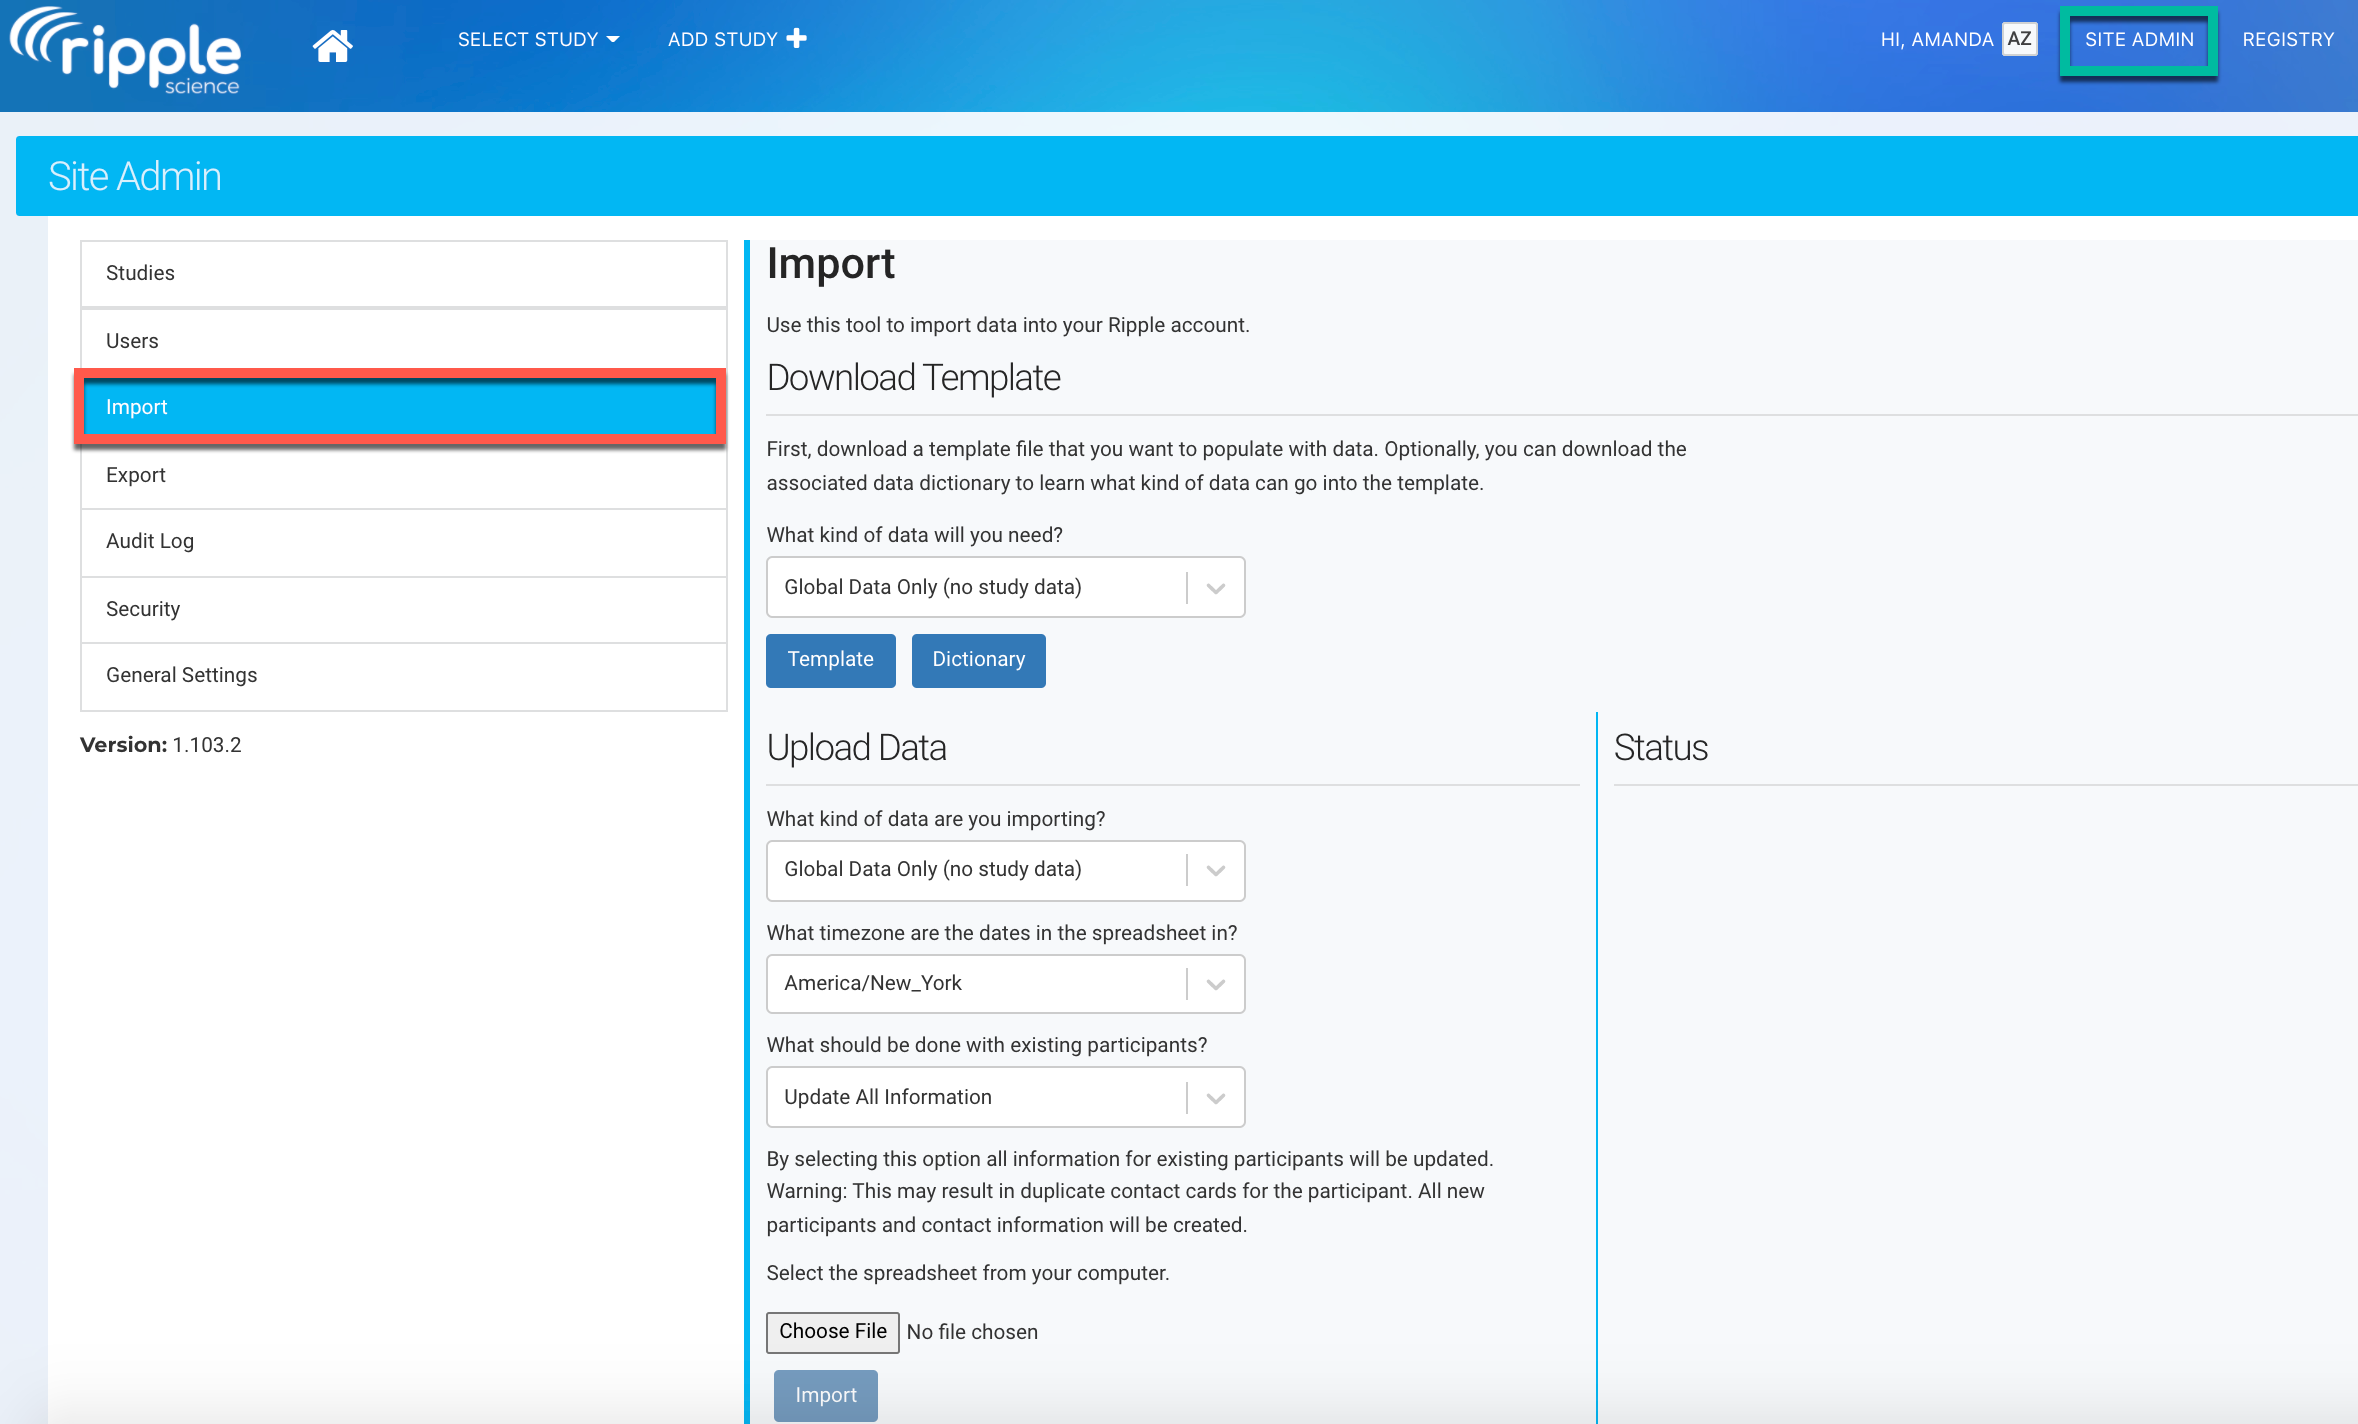
- Navigate to Site Admin tab (green).
- Click on the Import tab (red).
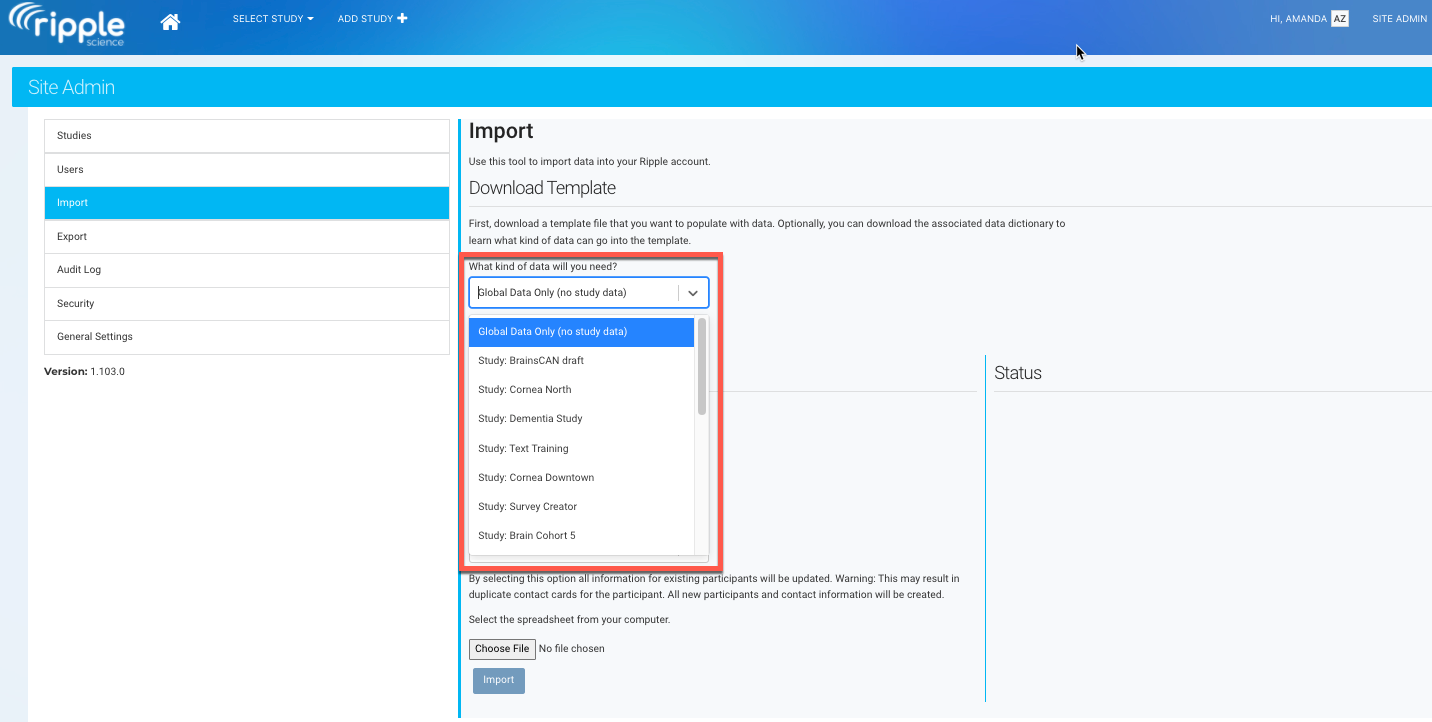
3. Choose Data Type
-
- Select Global Data, Study-Specific Data, or Both from the dropdown menu.
- Choose the type of Template and Data Dictionary.
- Refer to this article to choose the type of data needed.
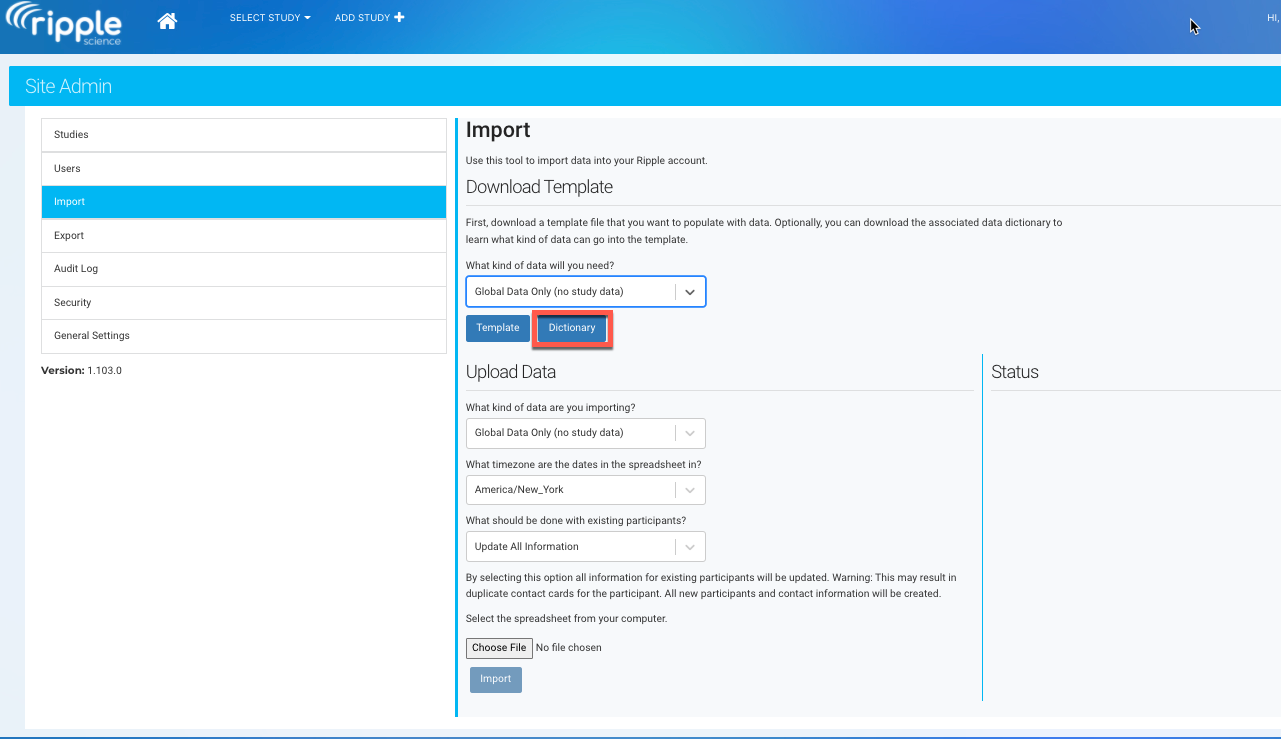
4. Download the Data Dictionary
-
- Choose the correct data type and click “Dictionary” to download.
- Refer to this article for an overview on using the Data Dictionary.
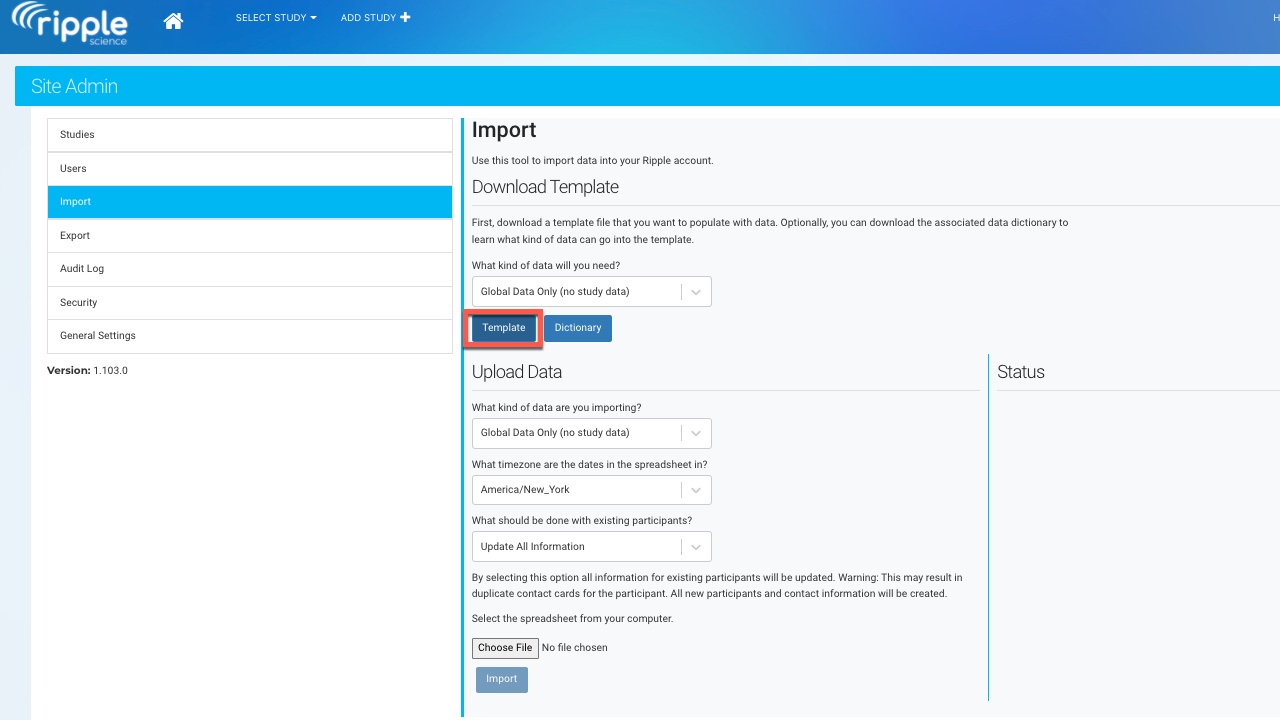
5. Download & Fill in the Template
-
- Click “Template” to download the pre-formatted file.
- Fill in participant data following the Data Dictionary’s format.
- Use one row per participant and copy/paste allowable responses from the Data Dictionary.
- If needed information is not listed in the Templates column or Data Dictionary, create custom variables, then re-download the template.
TIP:
- Delete unused columns but keep required variables (Firstname, Lastname, GlobalID or Birthday, and ImportType). ImportType is not needed for every row, just the first row with particpant's data.
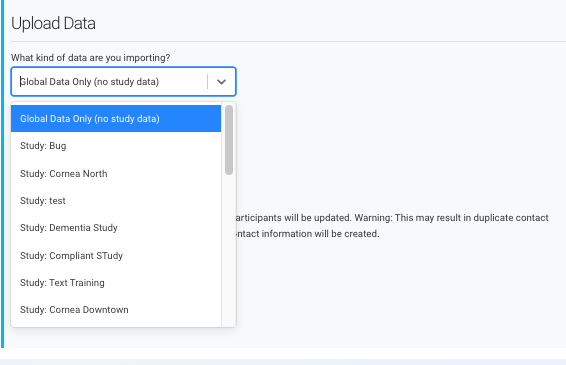
6. Select Study or Global Data
-
- Use the dropdown to specify what data you are uploading.
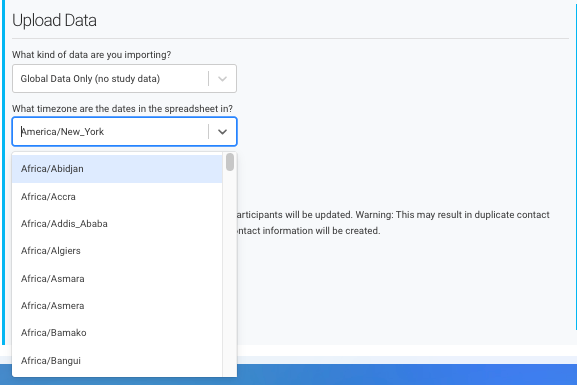
7. Set the Time Zone
-
- Choose the coordinating site’s time zone if working with a remote team.
- Time zone choice may affect date and time variables and events for study-specific uploads.
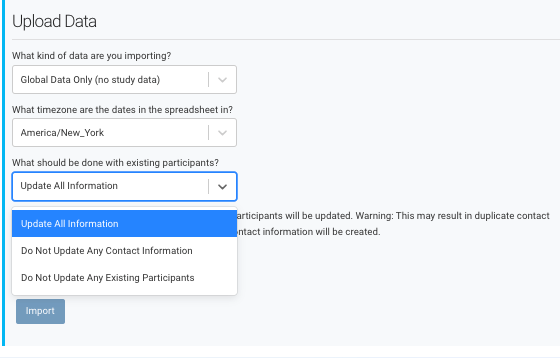
8. Choose How to Handle Existing Participants
-
- Update All Information: Creates new participants & updates existing ones.
- Do Not Update Contact Information: Creates new participants and updates existing participants for all fields except participant contact details.
- Do Not Update Existing Participants: Only adds new participants and their information.
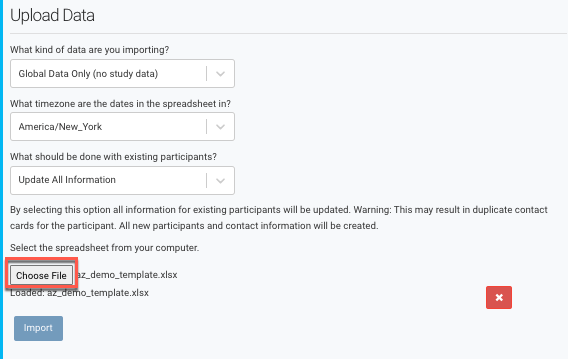
9. Upload the Template File
-
- Click “Choose File” and select the .xlsx file for import.
10. Validate Data & Fix Errors
-
- Ripple will run checks; if errors (incorrect formatting or invalid responses) occur, correct them in the template and re-upload
11. Import Data
-
- If no errors, the Import button will be activated. Click it to upload data.
- Note: Large imports may take time but will continue running in the background.
WARNING: The import process may take a few minutes after clicking "Import." It will continue running in the background, even if you close Ripple. For exceptionally large files containing thousands of participants, you can initiate the import and proceed with your tasks without interruption.
