Ripple allows you to send automated emails to participants based on a date-including a scheduled or completed event, helping research teams improve communication and reduce manual reminders. This guide walks through how to configure an automated email tied to an upcoming event and explains the difference between scheduled and completed events in Ripple.
Understanding Scheduled vs. Completed Events
| Scheduled Event | Completed Event |
|---|---|
| An event is scheduled when a date and time have been set for it in the participant’s timeline (e.g., an upcoming visit is added to the calendar). | An event is completed when staff mark the event as having occurred by updating its status to “Complete” or another terminal status. |
| Used for sending reminders or pre-visit instructions. | Used for sending follow-up emails, surveys, or thank you messages. |
| Example: Send a reminder 2 days before a participant’s visit. | Example: Send a survey immediately after a visit is marked complete. |
NOTE: Emailing study participants or patients is often governed by institutional rules, typically overseen by the Institutional Review Board (IRB) and the Information Security Compliance Office. Ensure you have the necessary authorization to contact participants or patients directly before using this feature.
Setting Up Automated Email Trigger
Automated emails in Ripple can be scheduled based on any date variable, such as enrollment date, study addition date, Event date, birthday, last contact date, or custom date variables. This feature is useful for tasks like sending automated appointment reminders, which can include details about the study, appointment date and time, and directions.
How to Send an Automated Email Based on a Scheduled Event
Step 1: Create an Event
-
Go to your Study Settings--> Events tab.
-
Create a new Event.
-
Click on Schedule Relative to: Select the Event.
-
Click Assign to Status: Add all relevant statuses for this event.
- Add Help Text-(optional) add a short description of this event
Step 2: Create Your Email Template
To set up an automated trigger for an email template:
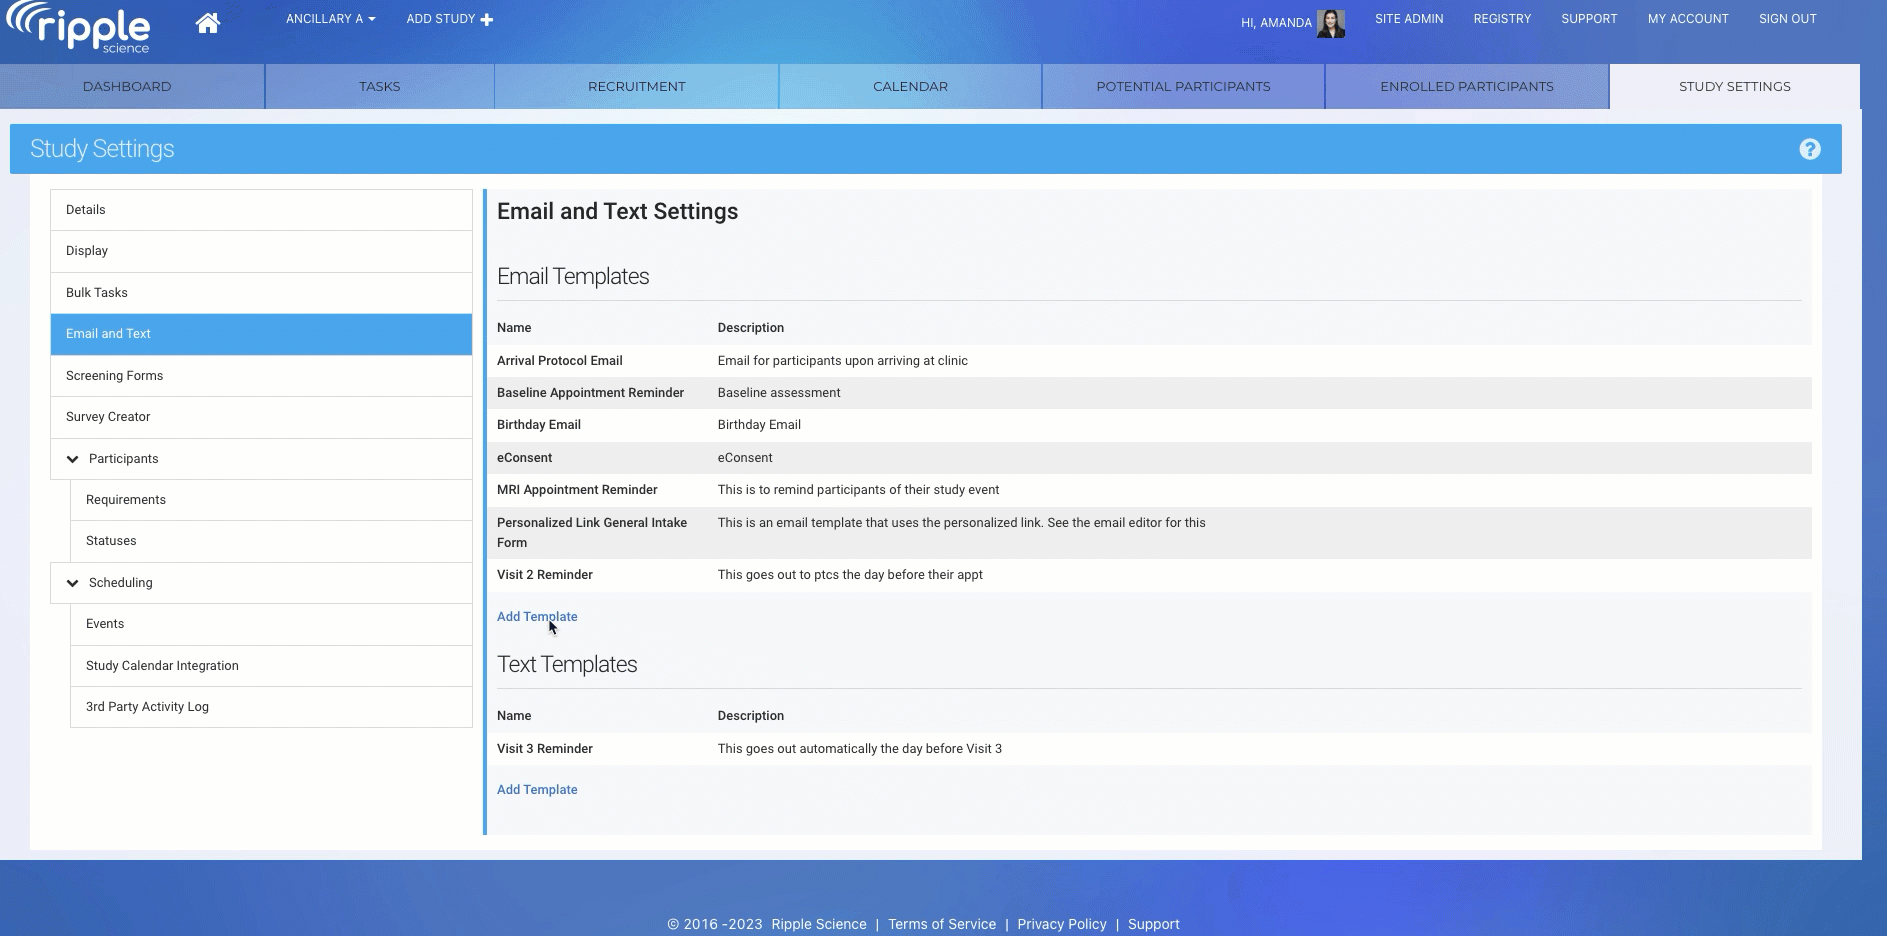
- Navigate to Study Settings.
- In the left sidebar, go to the Email and Text section.
- Click Add Template.
- Fill out the email template with the following components:
- Template Name (required)
- Description
- Reply to Address
- Sender Name
- Email Subject (required)
- Email Message (required)
- Use merge tags like
{first_name}or{event_date}as needed - Keep the language time-specific (e.g., “We look forward to seeing you at your visit on {event_date}”) for clarity.
- Use merge tags like
- Attachment (optional)
- Under the Automatically Send Based On scheduling module:
- Select a date variable or Event from the dropdown menu.
- Designate the timeframe for the email to be sent based on the Event.

-
-
Timing: Choose how many days before or after the scheduled date the email should be sent (e.g., “2 days before”).
-
6. Click Save.
Reminder: You can create multiple triggers for the same event—for example, one reminder 3 days before and another on the morning of the visit.
Pro Tips for Using Event-Based Emails
-
Always test your event triggers with a test participant profile to ensure timing and content are accurate.
-
Use clear email subject lines that reference the visit name or date.
-
If your event is manually marked complete without a scheduled date, scheduled-event emails will not send—timing relies on the event being added to the calendar.
Frequently Asked Questions
- How will I know the email was sent? An entry will appear in the Email Log on the participant’s profile card once the email has been sent.
- What time will the email be sent? The email will be sent at 9:00 AM local time.
- When will an email set to "0 days before an event" be delivered? It will be sent at 9:00 AM on the day of the event.
- Can I use the 0-day trigger for completed events? No. For completed events, use the 1-day trigger setting to ensure the email is sent at 9:00 AM the day after the event.
- What email address will the email be sent to? Emails are sent based on this hierarchy:
-
- If the preferred contact has no preferred email, Ripple will use the first non-archived email for the preferred contact.
- If there is no preferred contact, Ripple with use the preferred email of the participant’s contact.
- If the participant’s contact has no preferred email, Ripple will use the first non-archived email of the participant’s contact.
- If the participant’s contact is archived or has no email, the automated email will not be sent.